
Installation and configuring plug-in Selling Spare Parts
The plugin turns your store into a spare parts catalog. You describe the vehicles by levels (e.g. Year, Brand, Model, Engine), link the spare parts (products) to the vehicles, and your customers find the parts that fit their car on the 'Search spare parts' page.
It's easy to configure the plugin. See pictures.
1. After the installation the plugin adds the menu 'FoxNetSoft - Spare Parts' with three items: 'Filter levels', 'Vehicles' and 'Configure'.
Open 'Configure' and enable 'SpareParts enabled'.
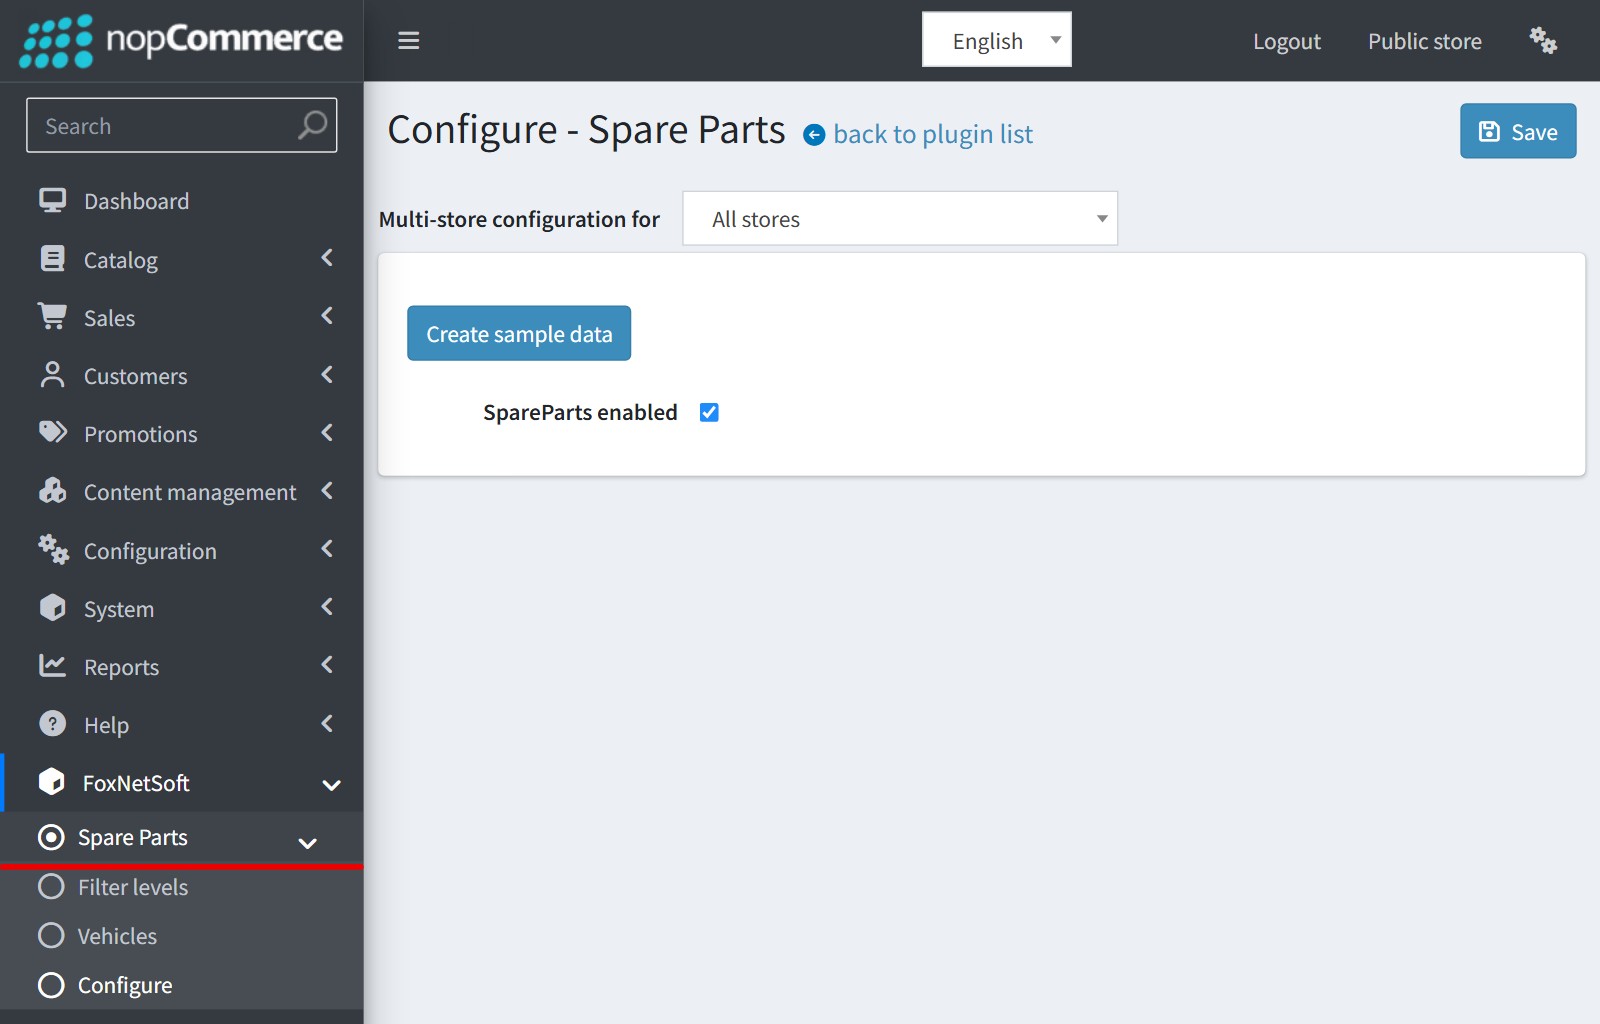
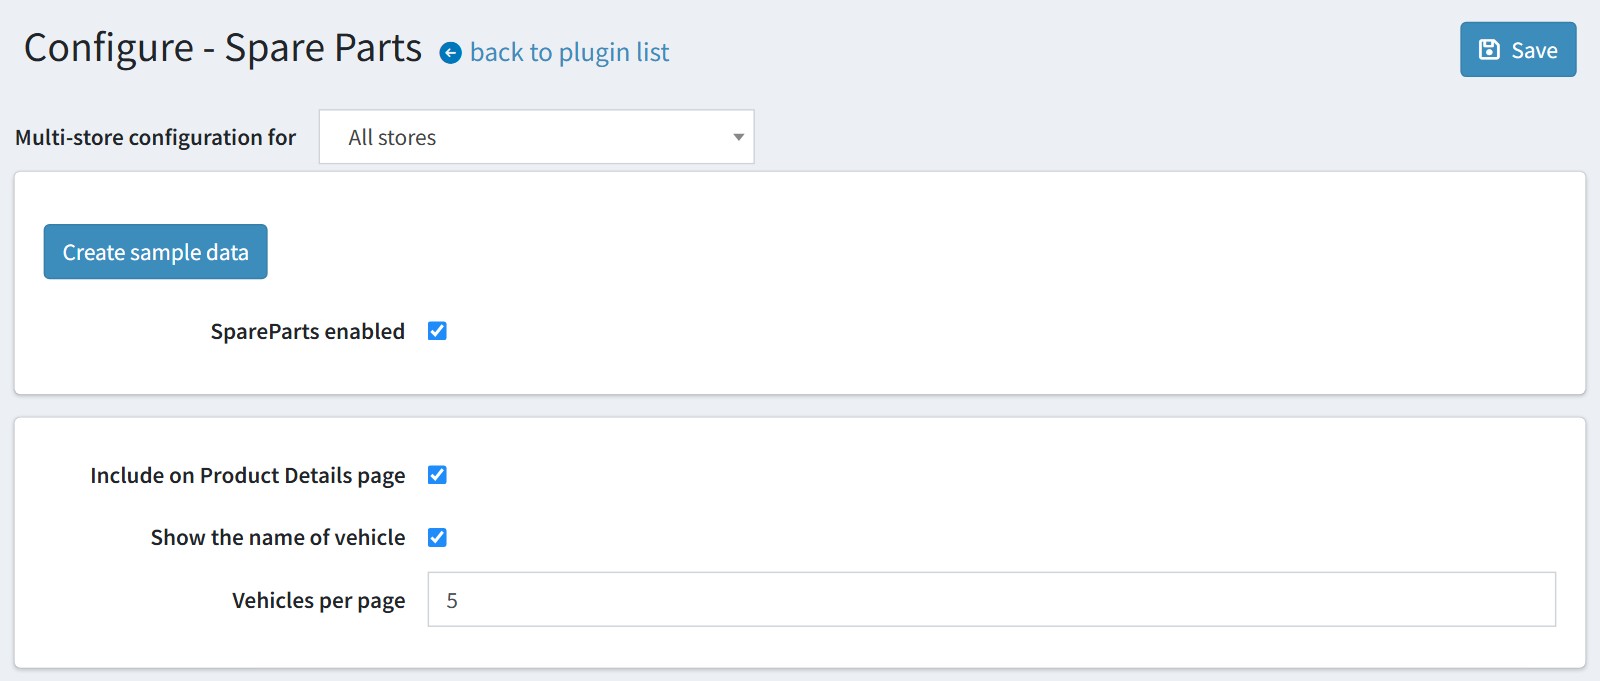
2. Press 'Create sample data' if you would like to see how the plugin works. It creates example values for Year, Brand, Model and Engine and several vehicles.
'Include on Product Details page' shows the list of the vehicles the product fits on the product page.
'Show the name of vehicle' shows the vehicle name in this list.
'Vehicles per page' limits how many vehicles this list shows, e.g. 5. 0 shows all vehicles.
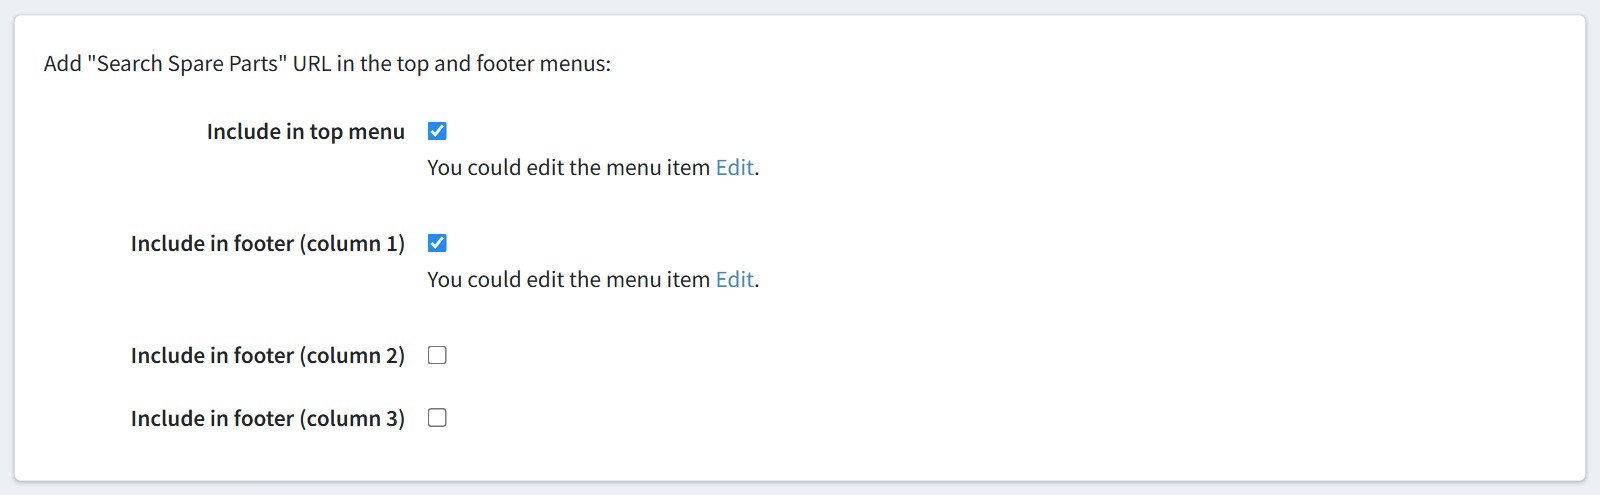
3. Add the link to the 'Search Spare Parts' page in the top menu or in the footer columns. The plugin creates a usual nopCommerce menu item. Press 'Edit' if you would like to change its title or its position in the menu.
This is how the link looks in the top menu. It opens the 'Search spare parts' page with one dropdown for each published filter level.
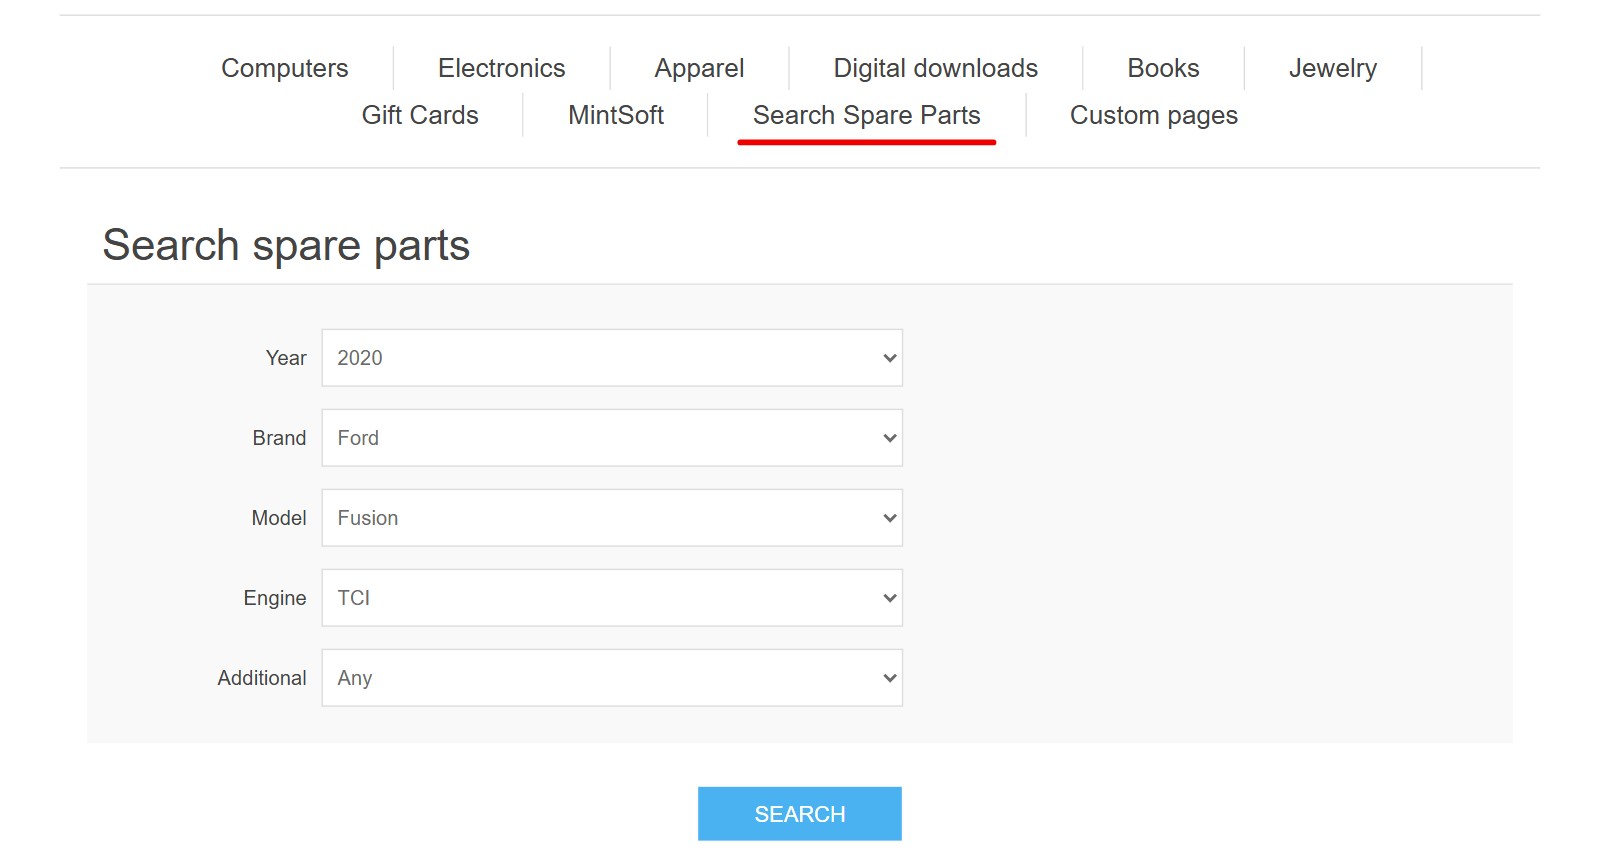
4. Open 'Filter levels'. The plugin has 5 levels of searching: Year, Brand, Model, Engine and Additional. You can rename them. If you don't need 5 levels, unpublish the last ones. The levels cannot be added or deleted, there are always 5.
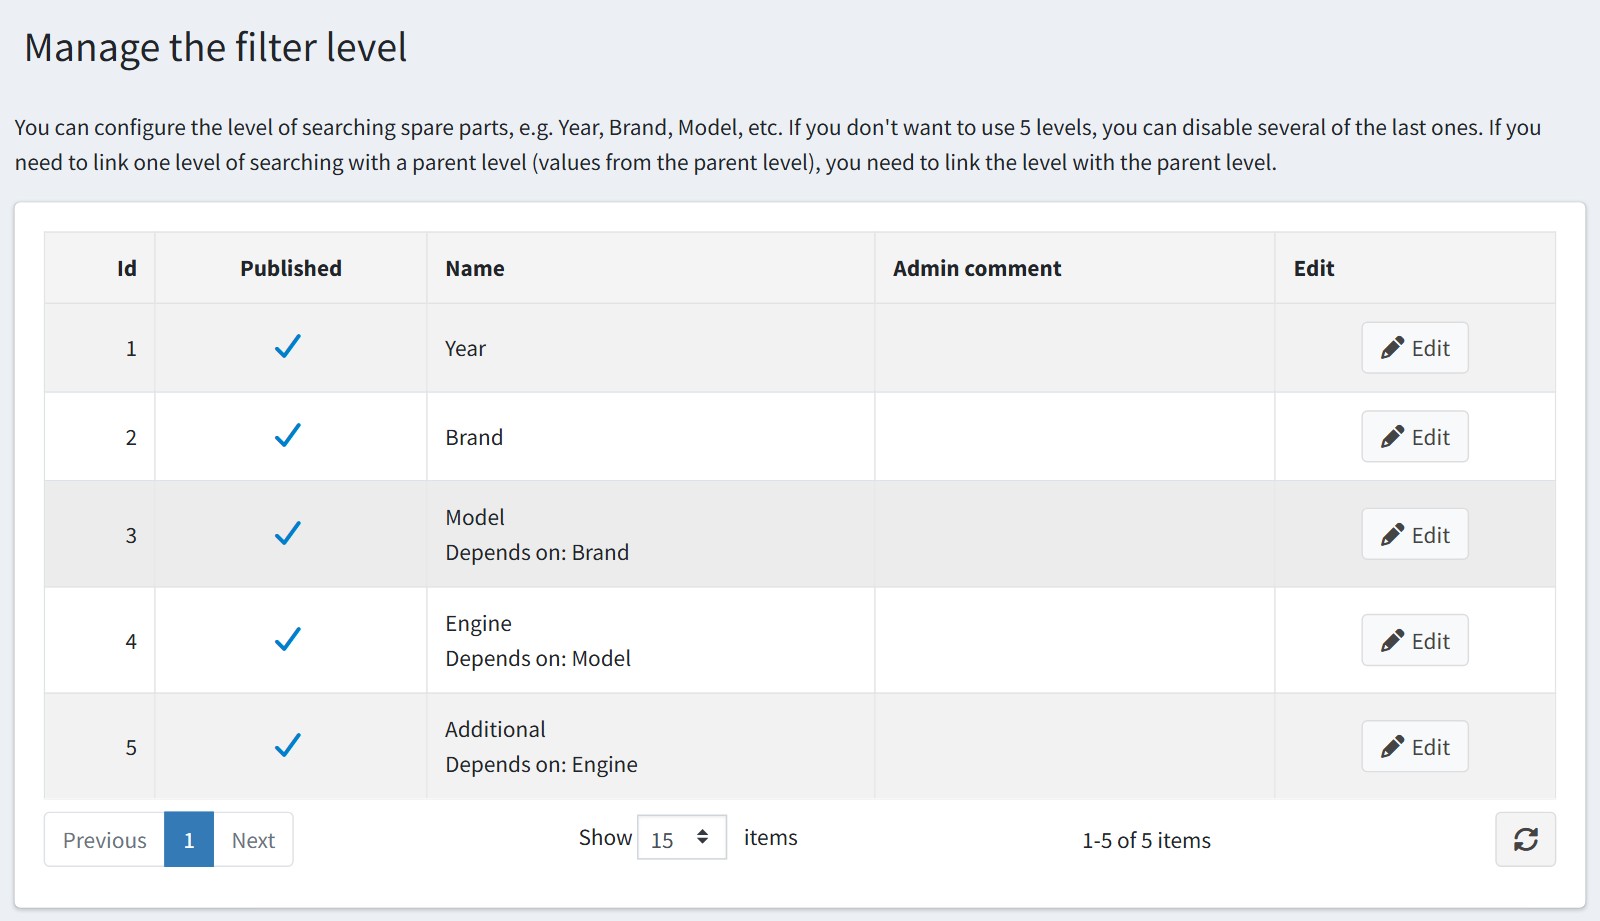
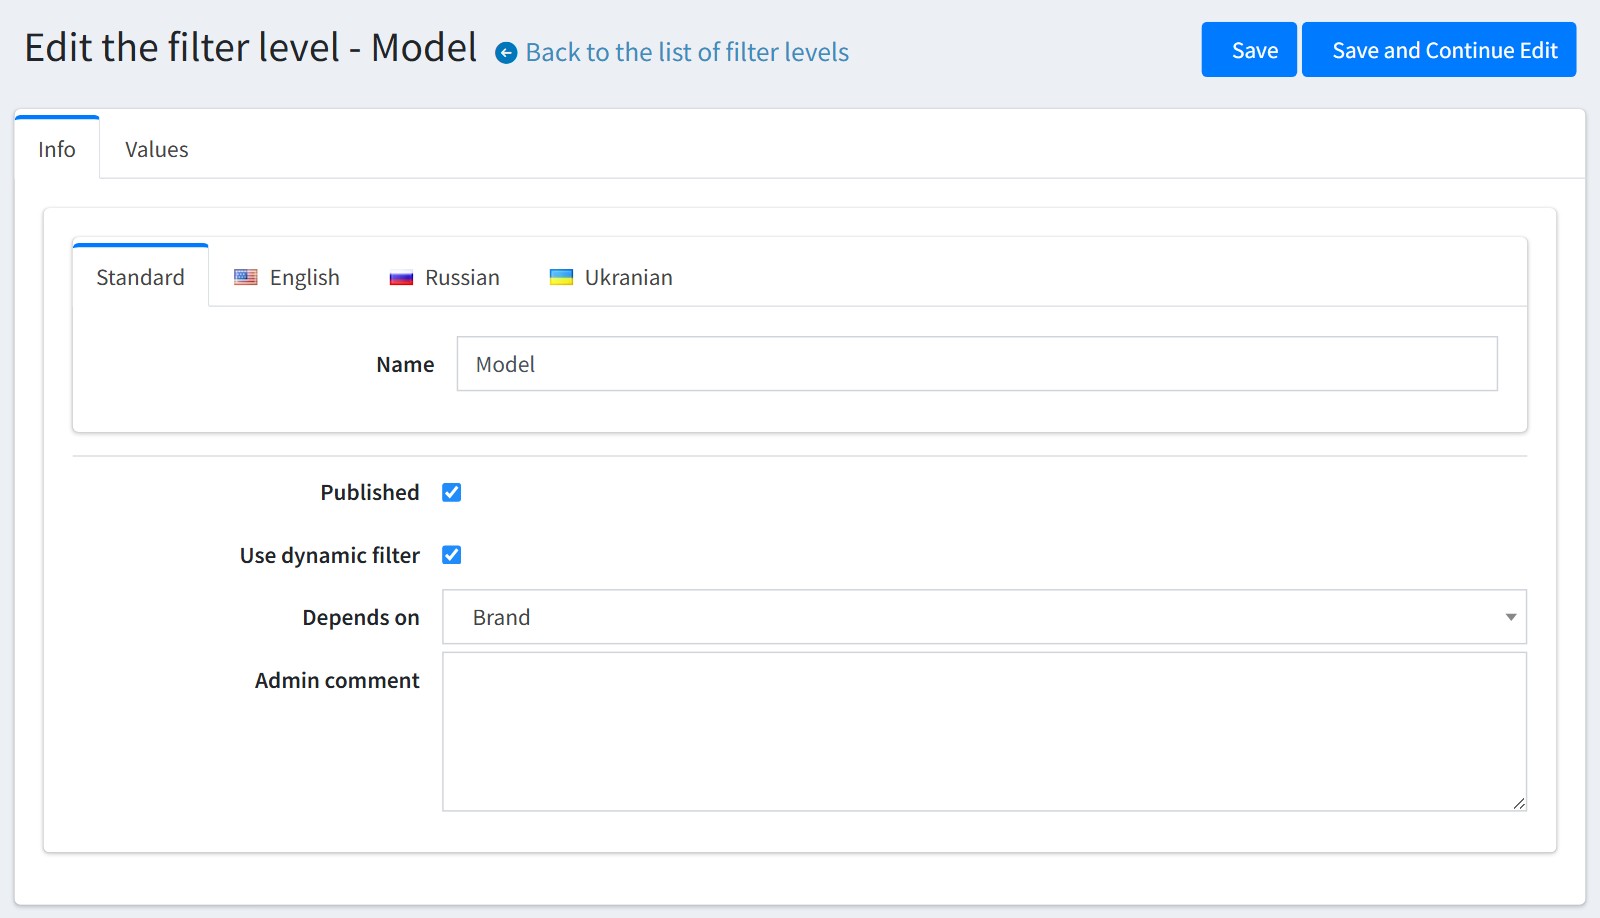
Open the level to change its name for each language.
Enable 'Use dynamic filter' and choose the parent level in 'Depends on' when the values of this level depend on the value of the parent level. Example. The Model depends on the Brand. The customer chooses Toyota and sees only the Toyota models.
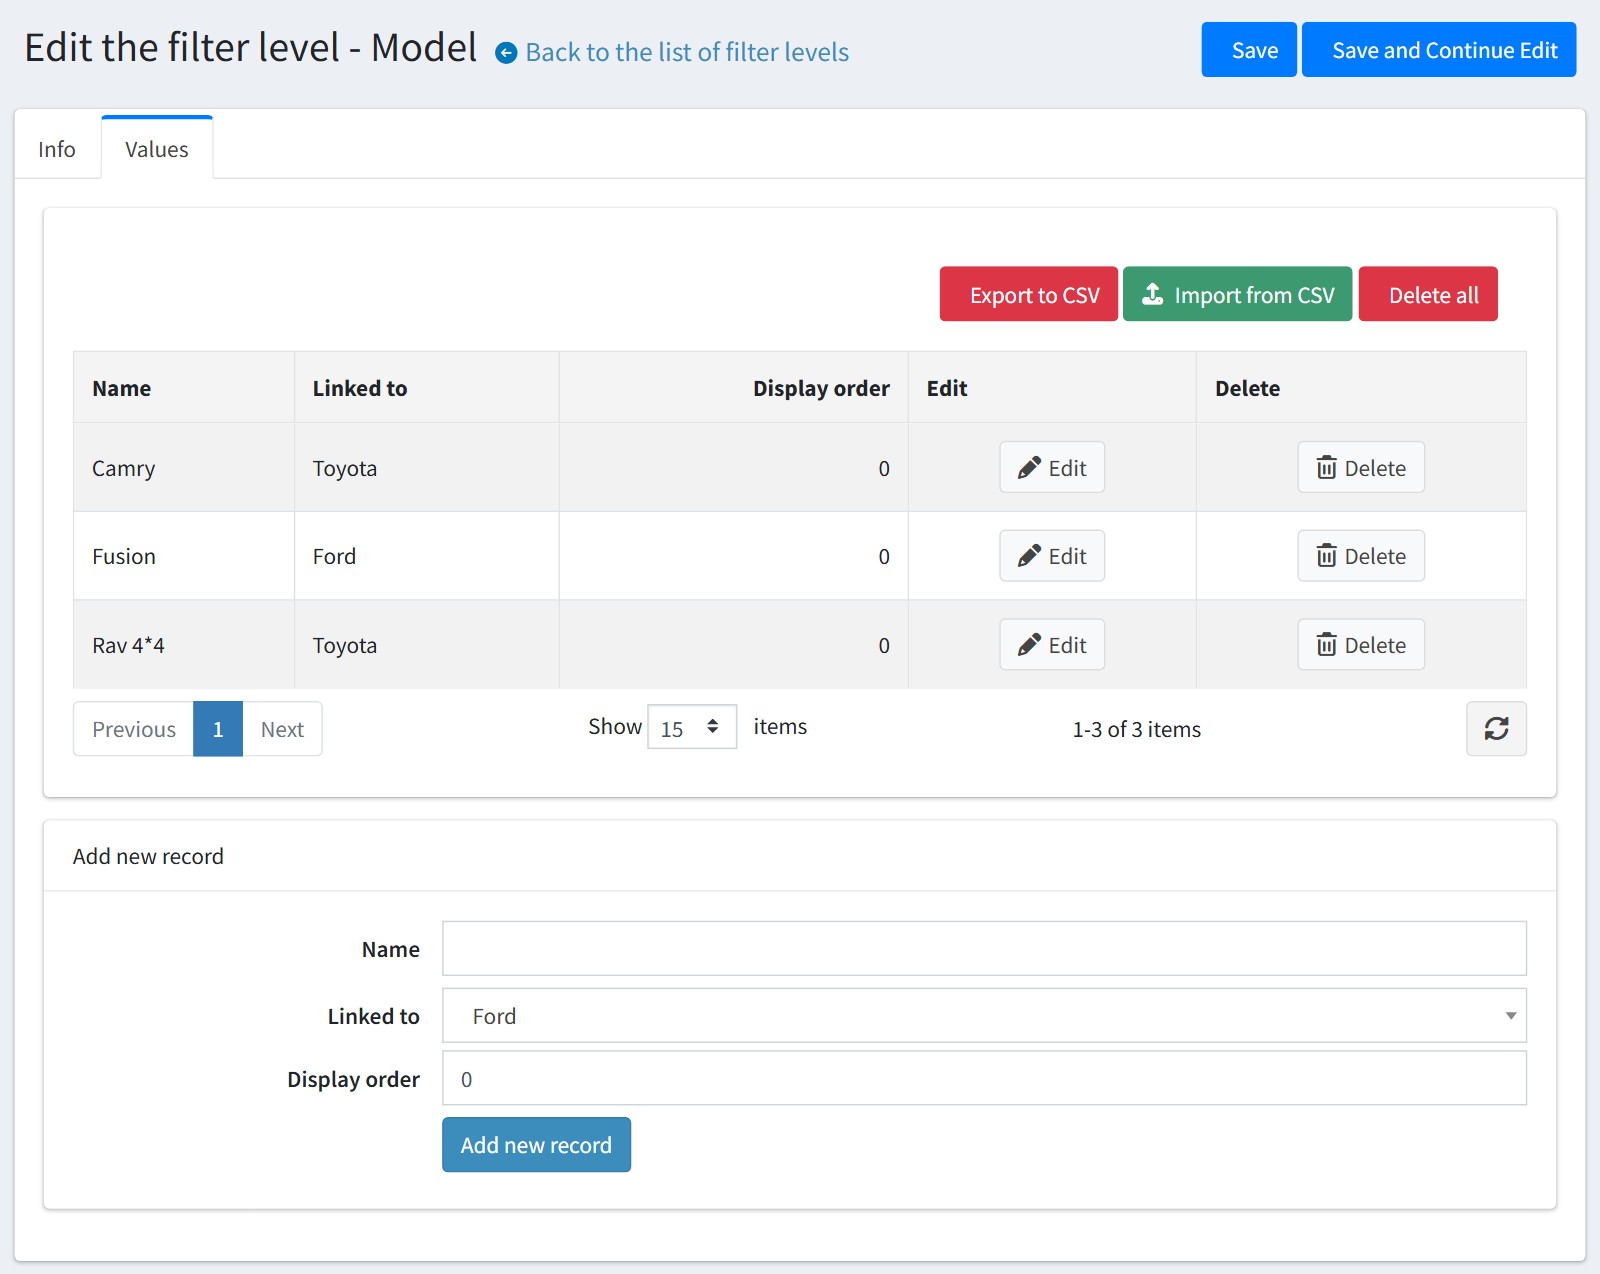
5. Open the 'Values' tab and add the values of the level. 'Linked to' is the value of the parent level. Camry and Rav 4*4 are linked to Toyota, Fusion is linked to Ford.
You can export the values to CSV, edit the file and import it back. The file has two columns, 'Name' and 'Linked To'. Export the values first and check the format.
The parent value is found by its name, so use unique names in the parent level.
6. Open 'Vehicles' and create the list of vehicles. You can search the vehicles by name and by the value of each level.
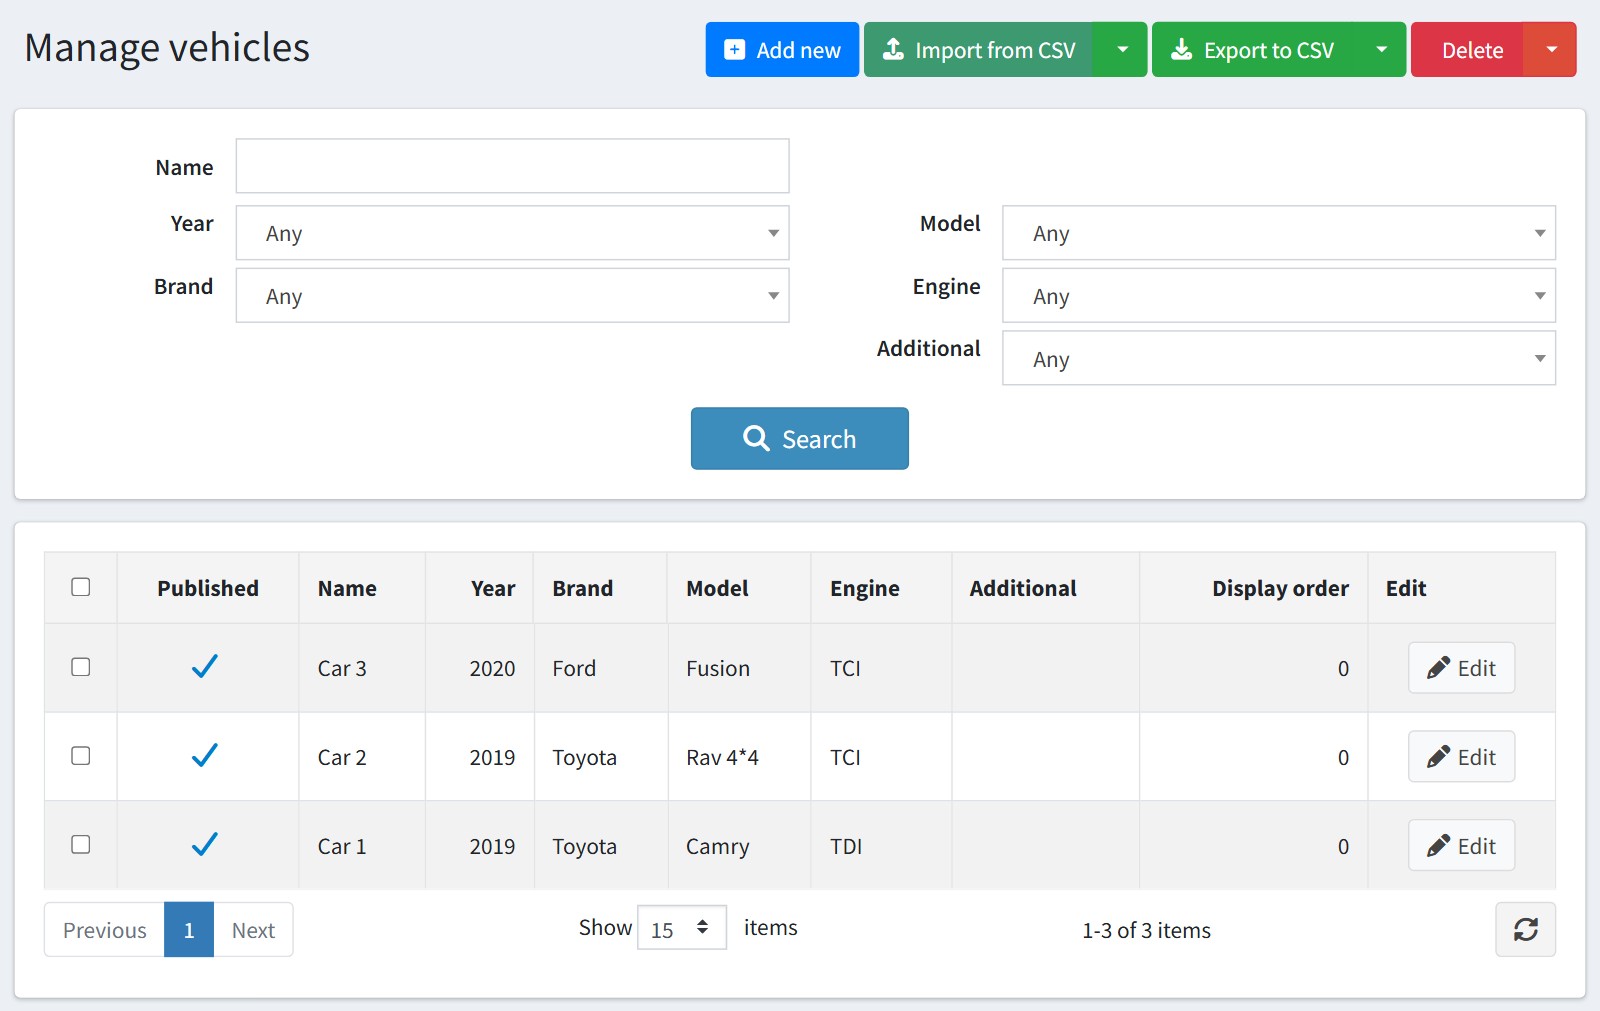
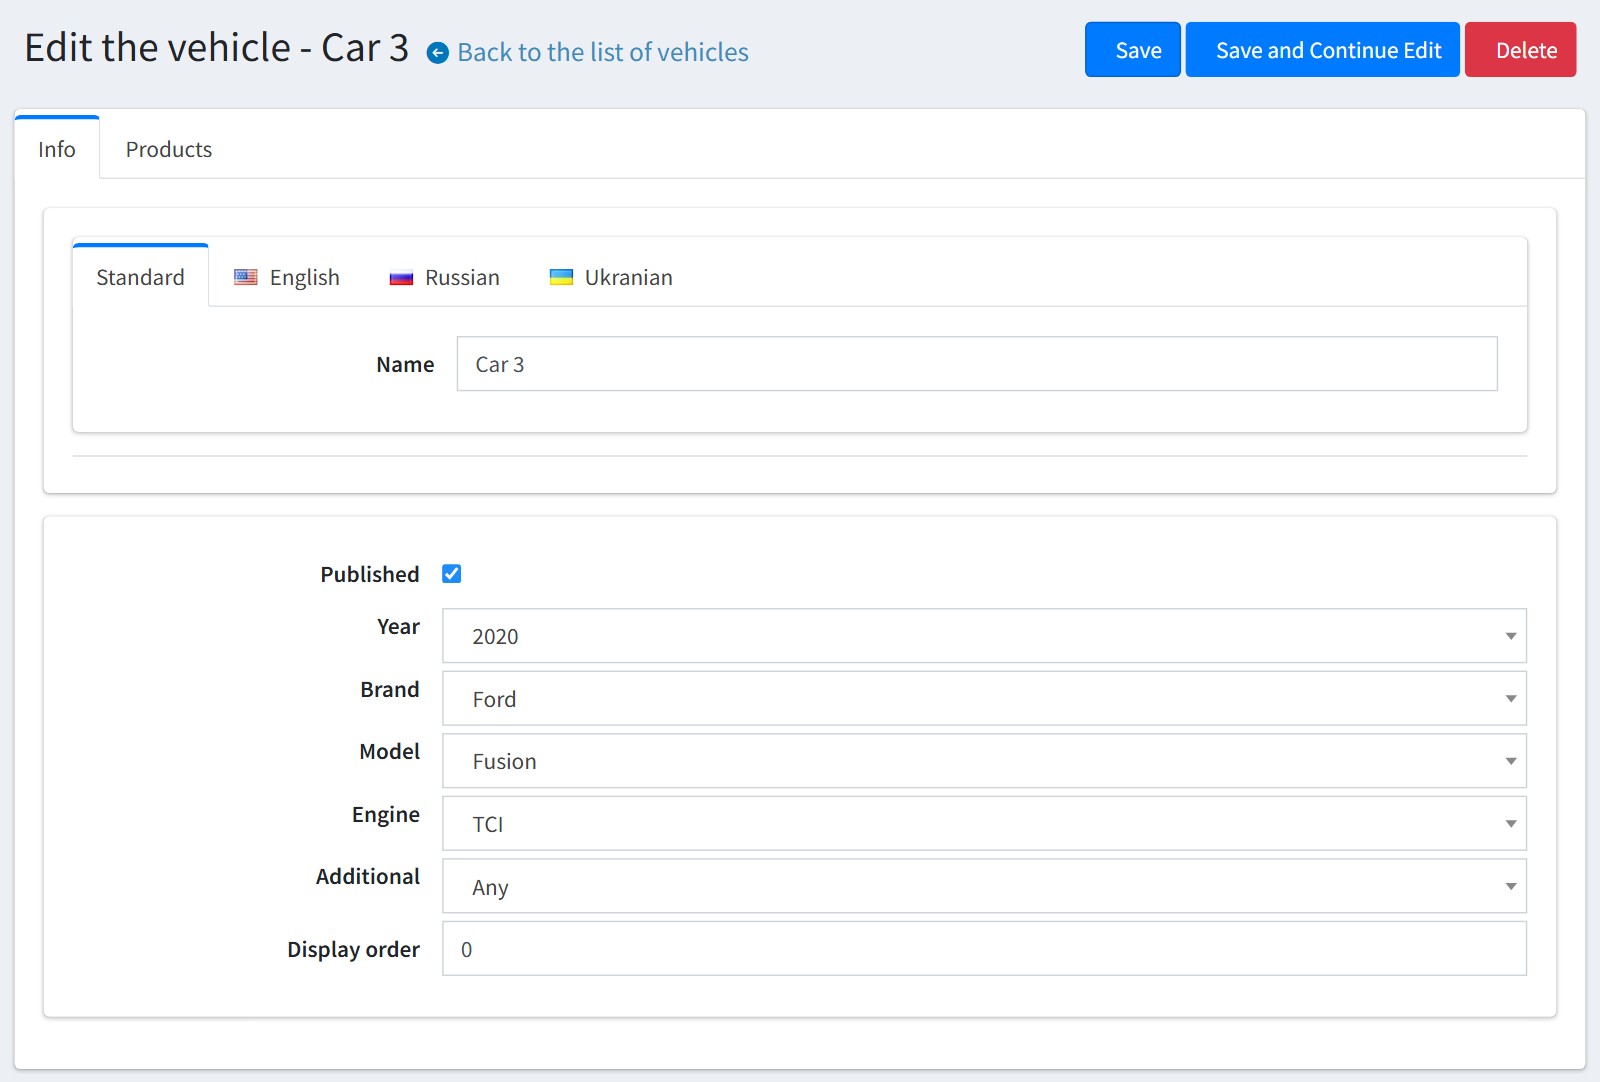
Each vehicle has a name for each language and one value for each level, e.g. Car 3 - 2020, Ford, Fusion, TCI. 'Any' means the vehicle has no value for this level.
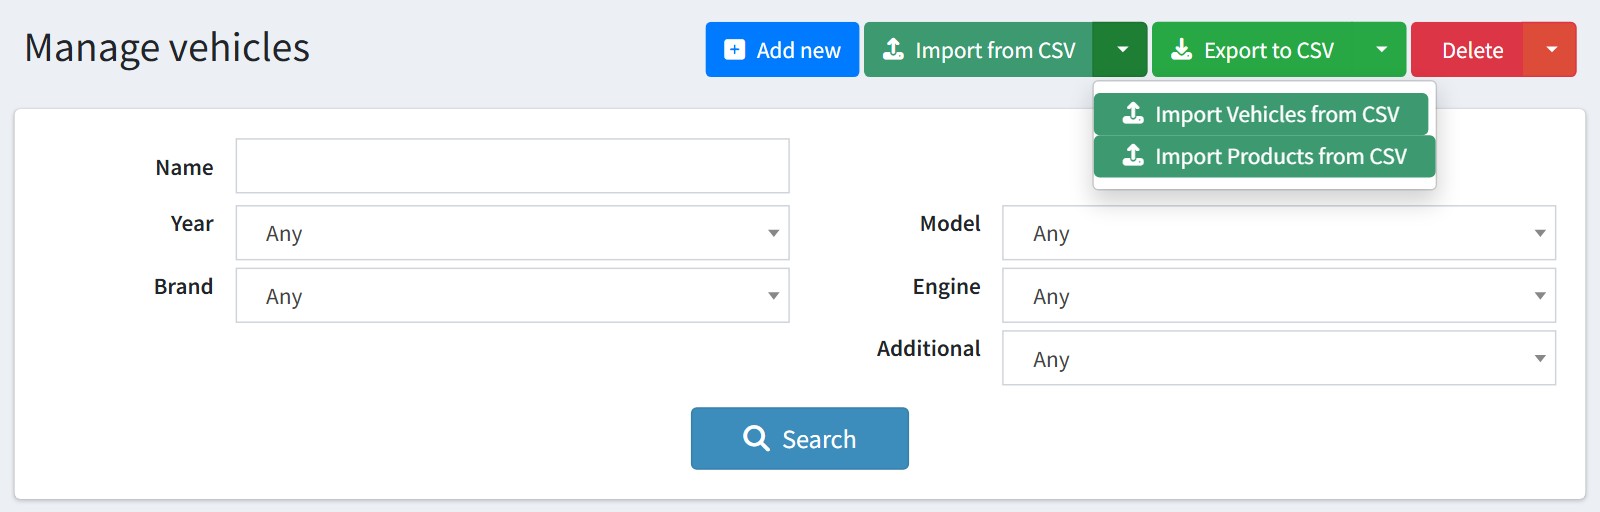
7. If you have many vehicles, use 'Import from CSV' - 'Import Vehicles from CSV'. Export the vehicles first and check the format of the file.
'Import Products from CSV' imports the products of many vehicles in one file.
'Delete' removes the selected vehicles or all vehicles.
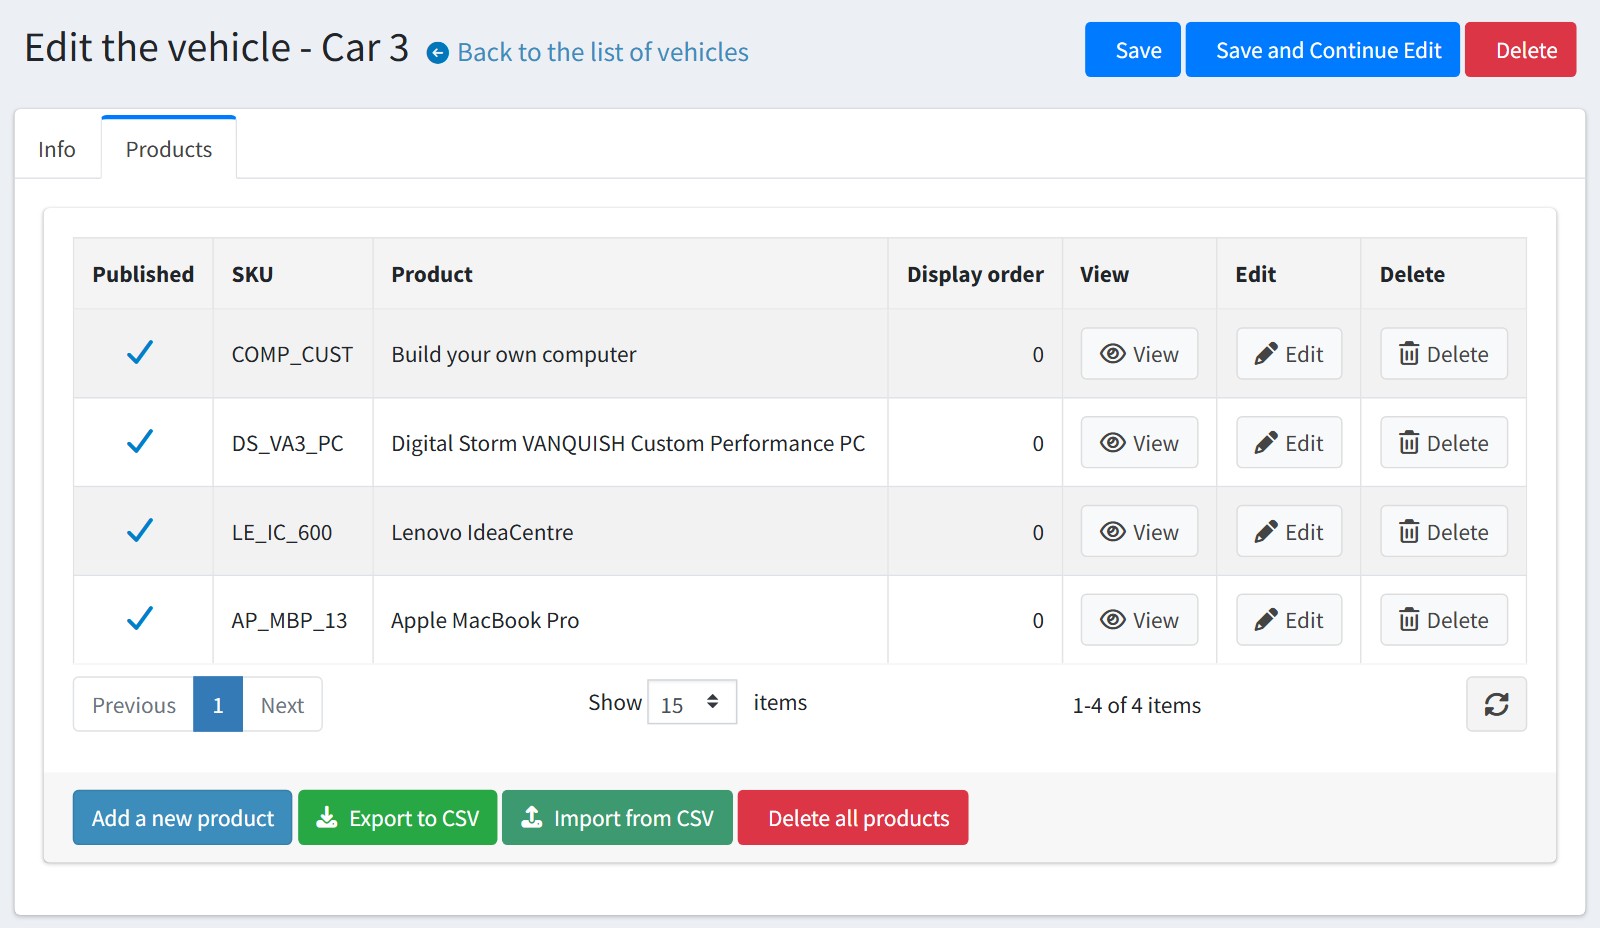
8. Open the vehicle, the 'Products' tab, and add the spare parts (products) that fit this vehicle with 'Add a new product'.
You can also export and import the products of the vehicle as CSV. The products are found by SKU, so your products should have a SKU.
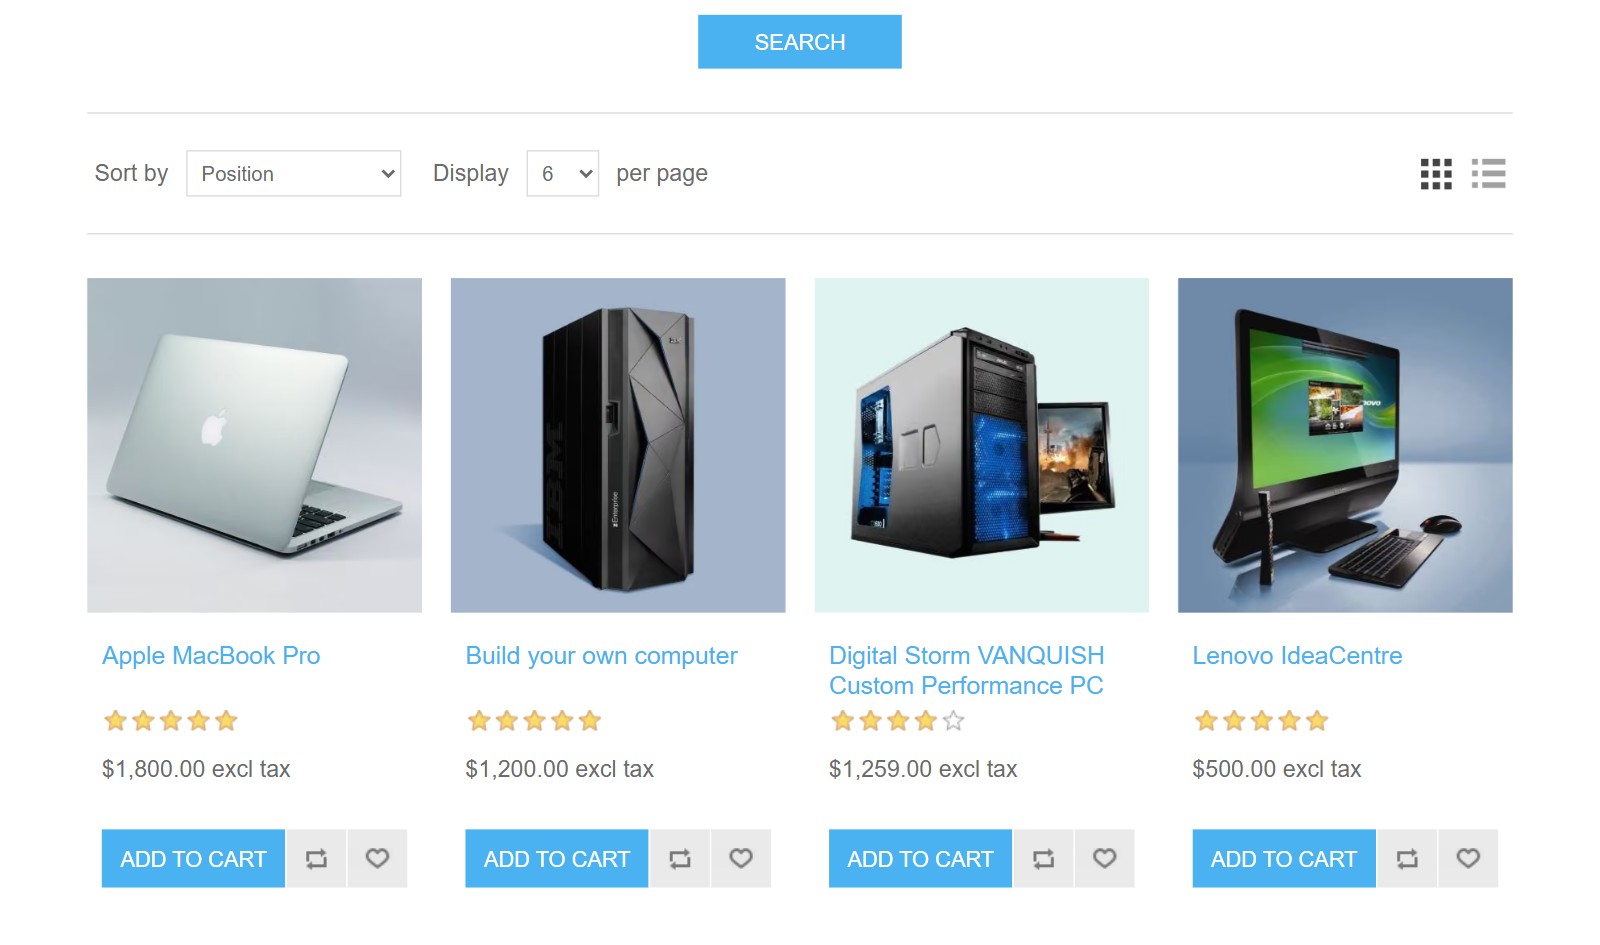
The customer chooses the vehicle on the 'Search spare parts' page and sees only the products that fit it.
9. You can link a product to the vehicles from the product page too. Open the product in 'Catalog - Products'. The plugin adds the 'Spare Parts' block with the vehicles of this product. If you don't see the block, switch the product page to 'Advanced' mode.
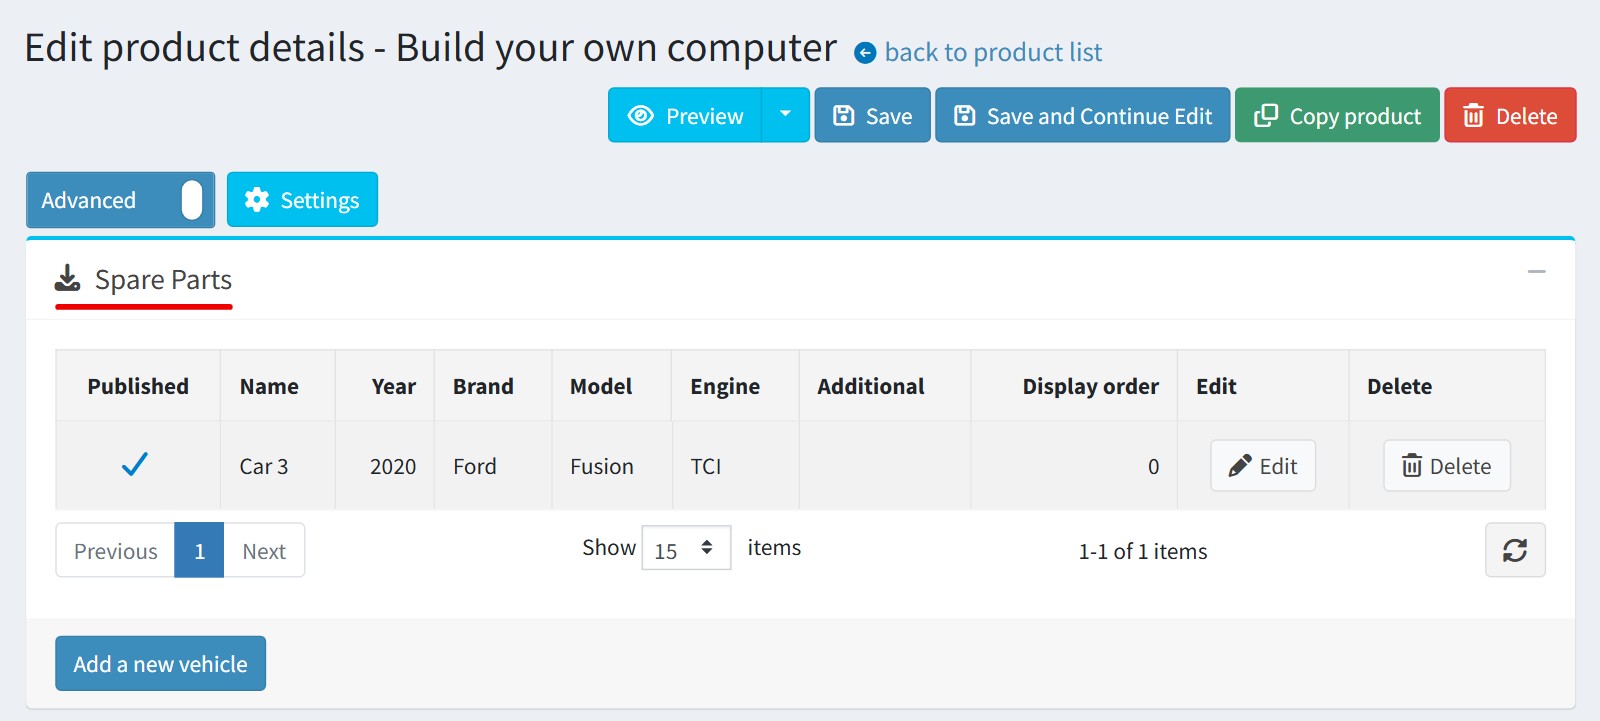
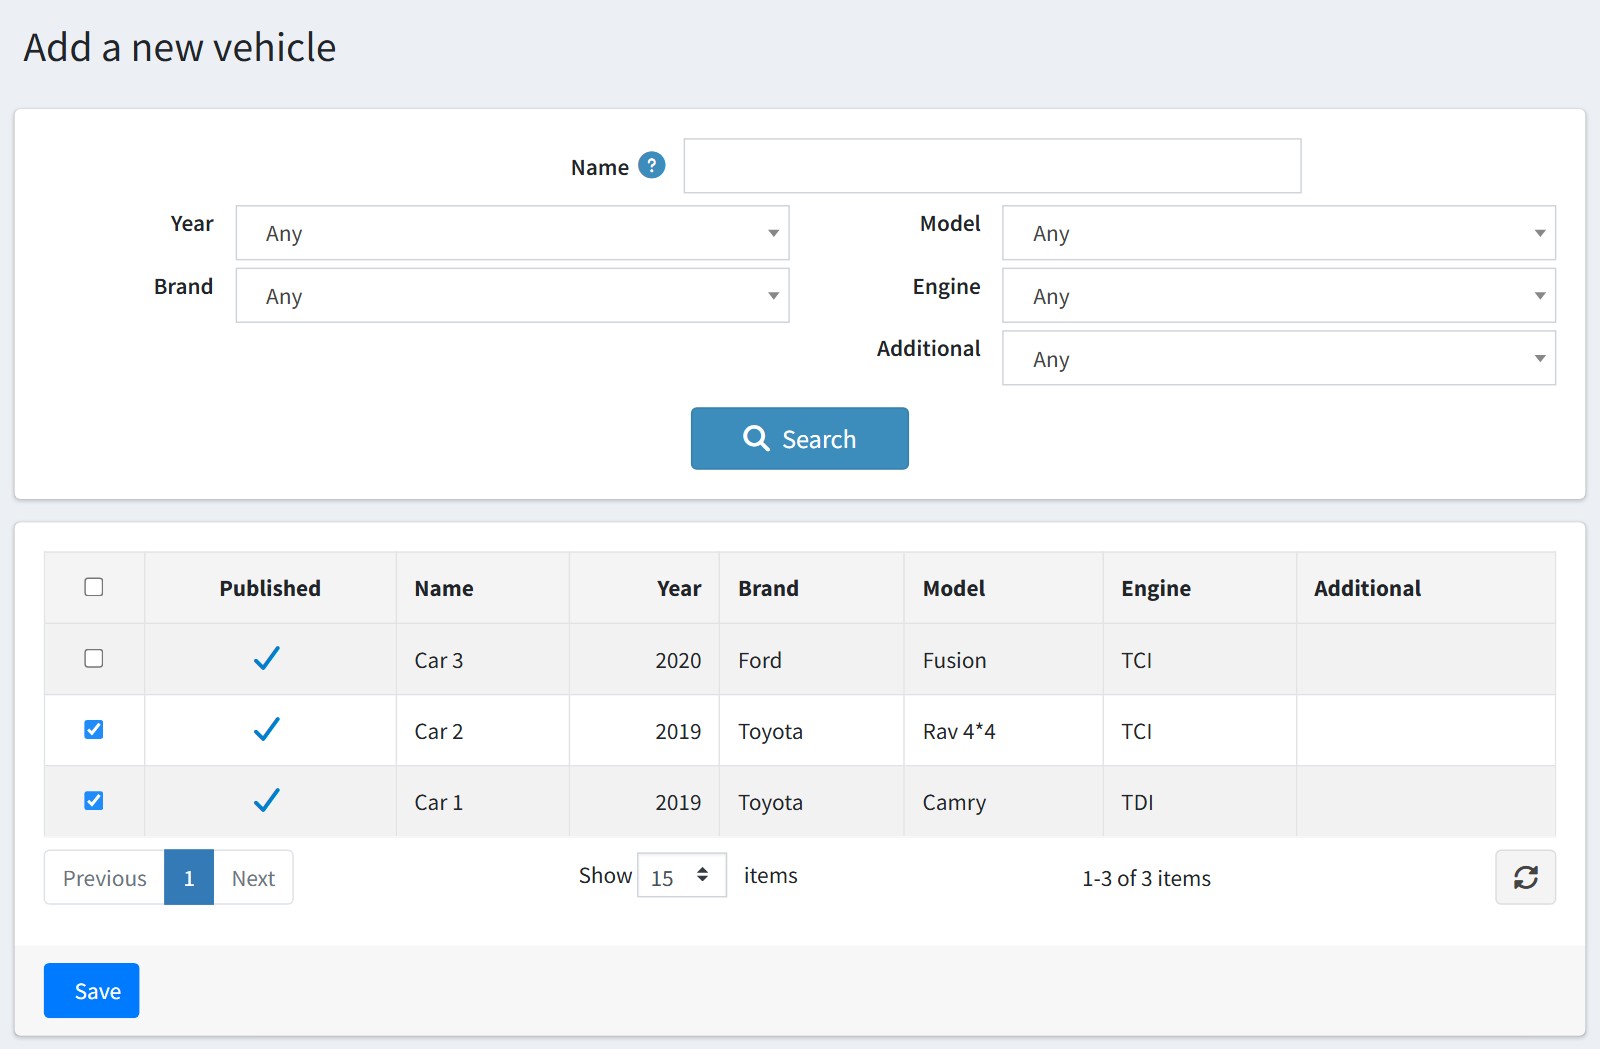
Press 'Add a new vehicle', find the vehicles, tick them and press 'Save'.
10. The search page uses the sorting, the view modes and the page sizes of your catalog settings.
All settings could be set for each store separately. Select the store in 'Multi-store configuration for' and check the override checkboxes.
The plugin works with MS SQL Server only.