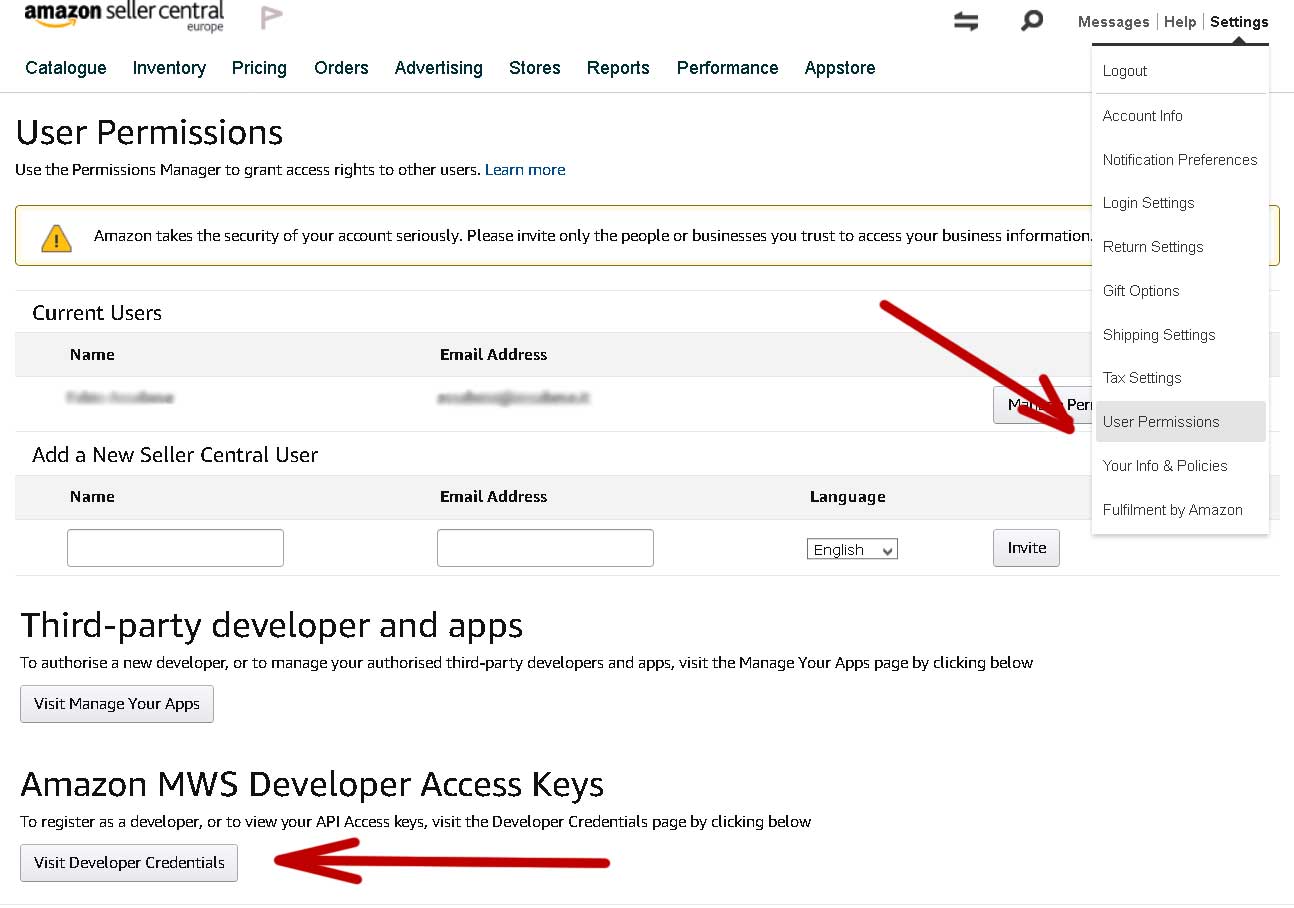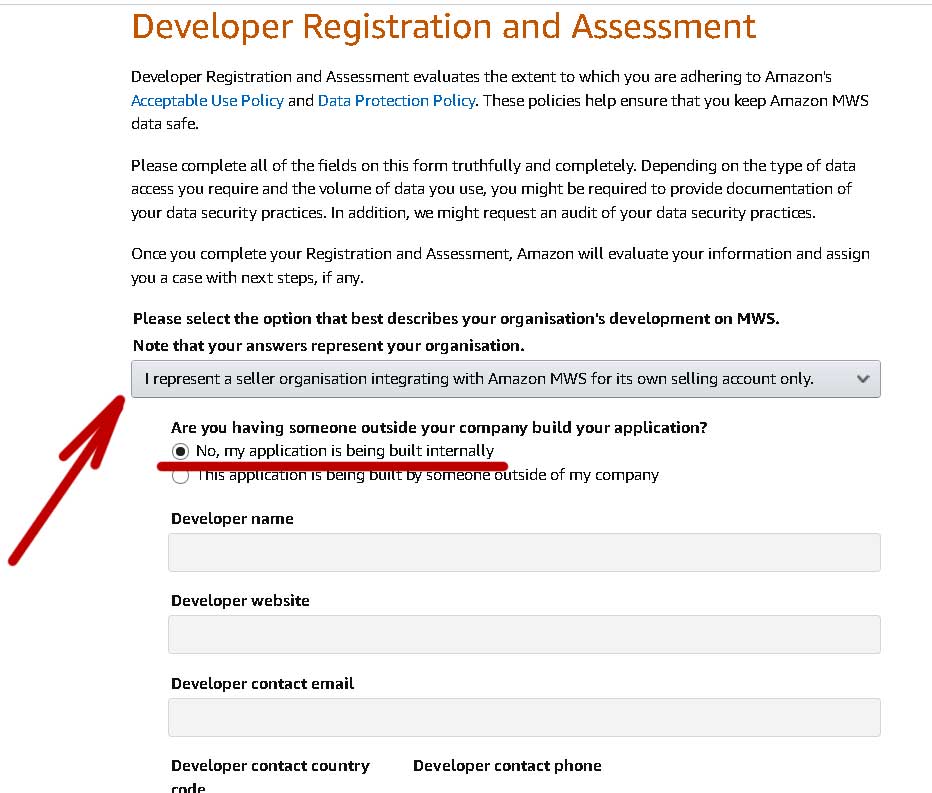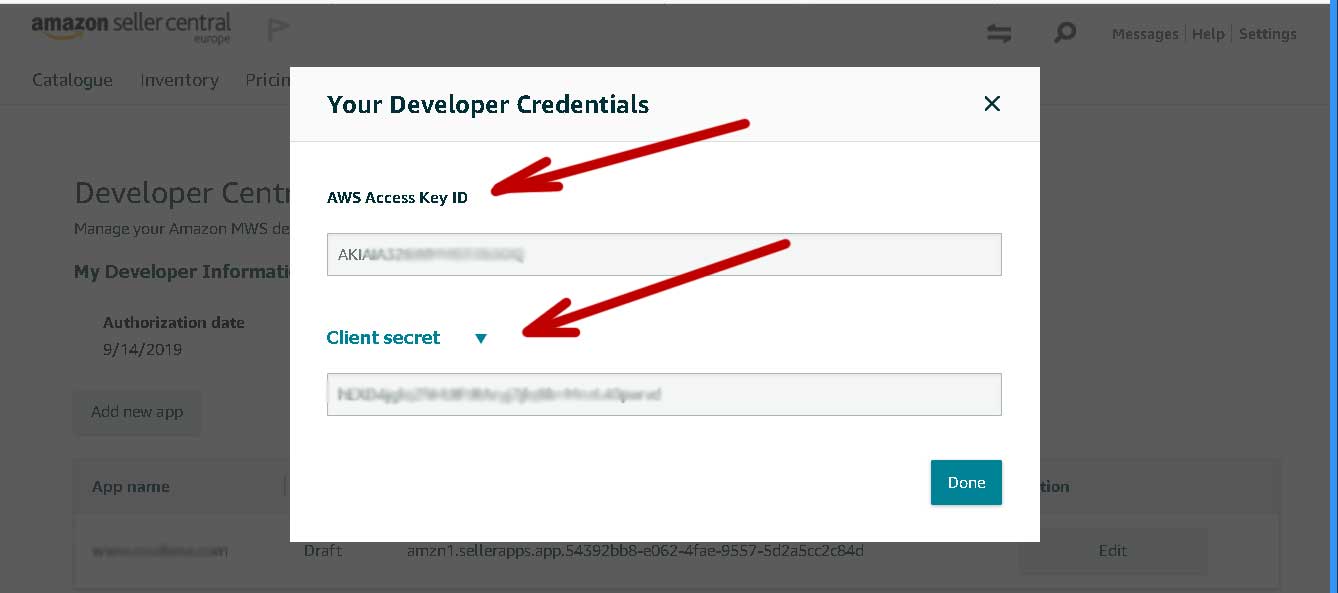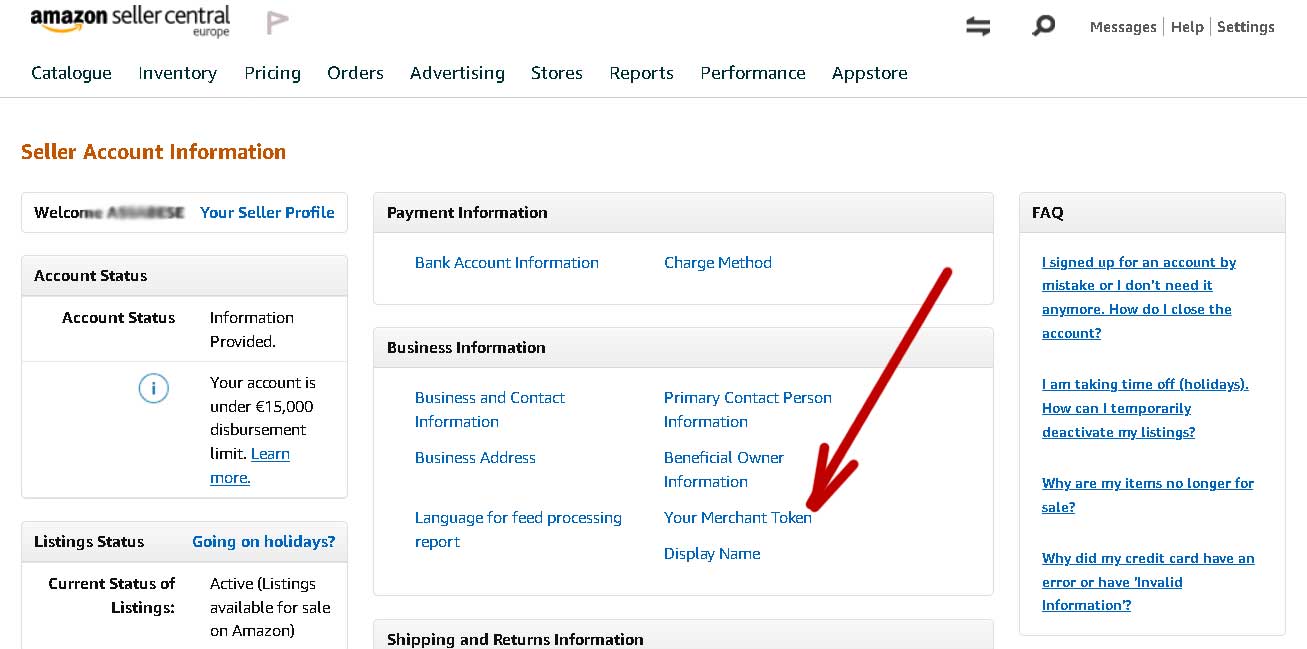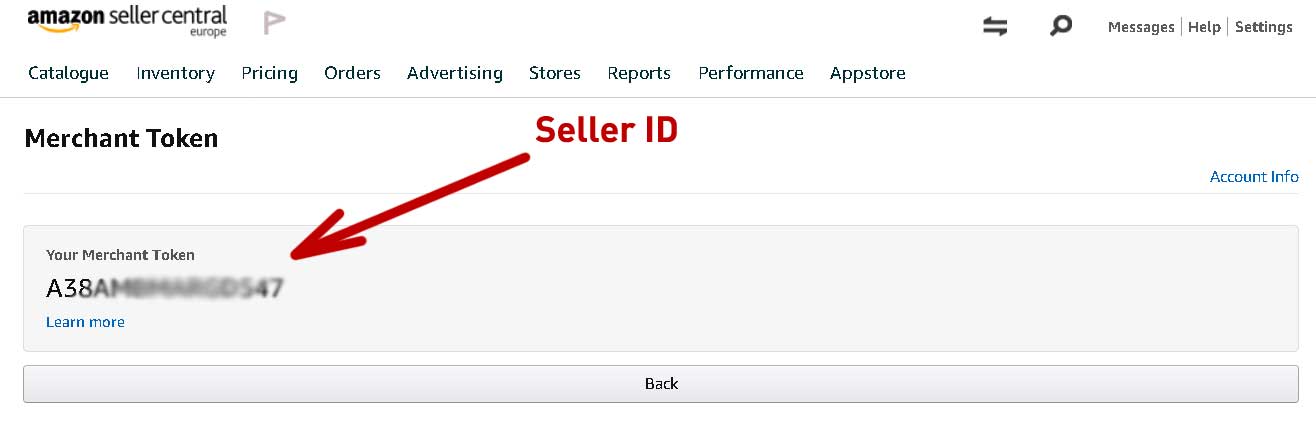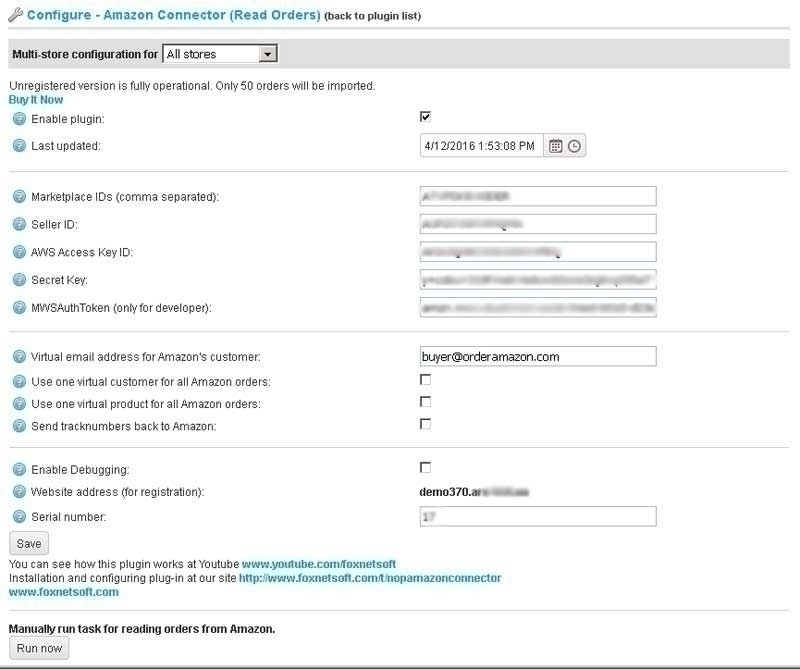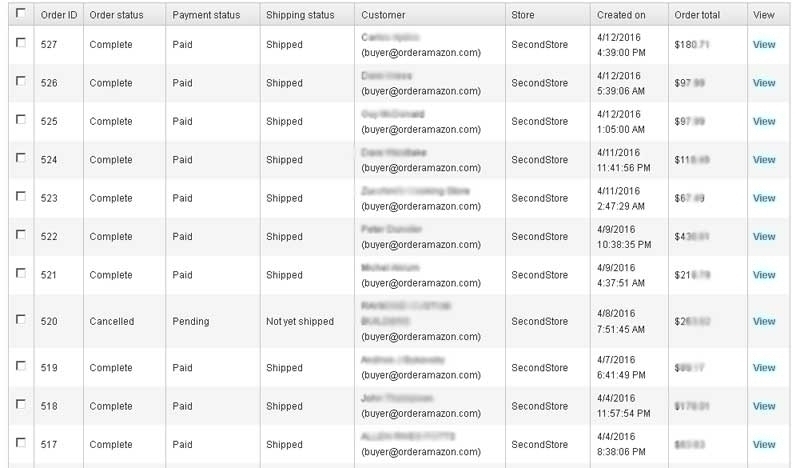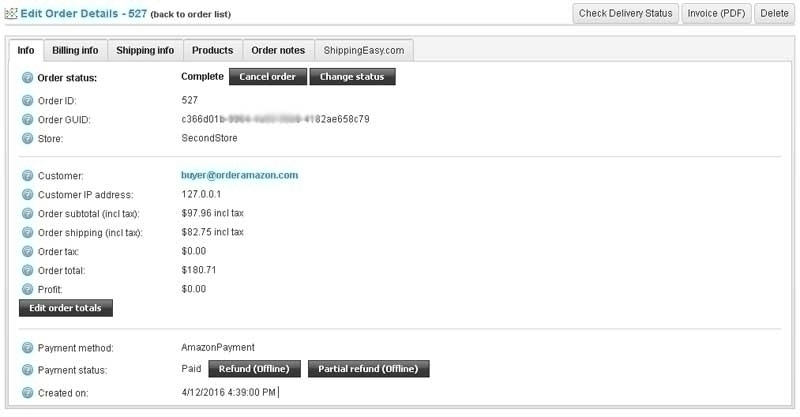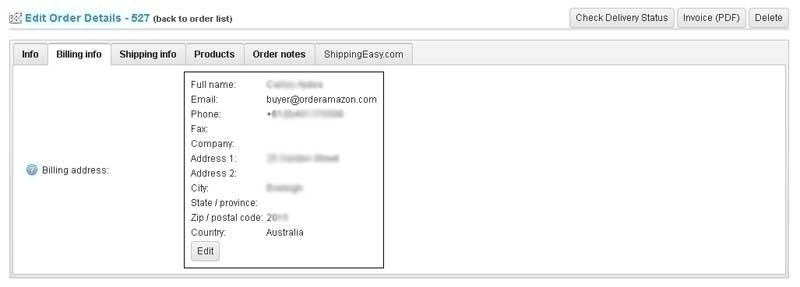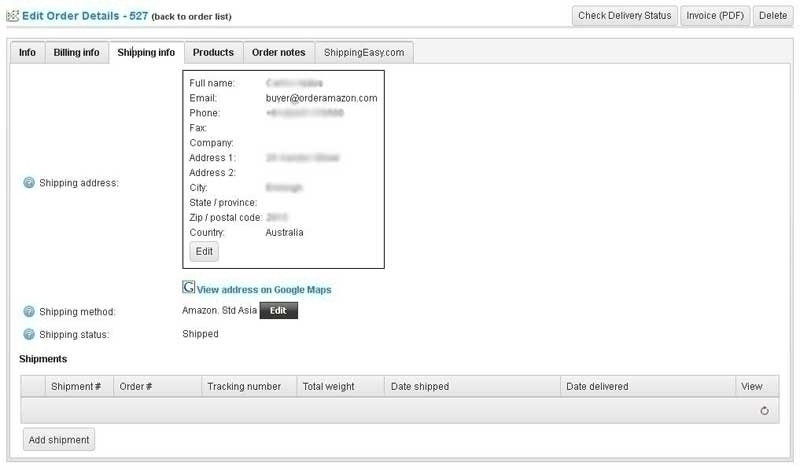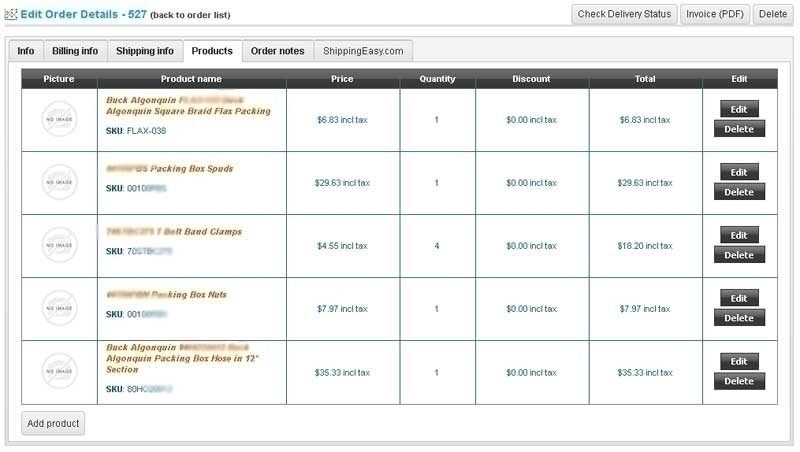
Installation and configuring plug-in Amazon Connector (old) You can configure plugin very easy. 1. First of all you need to find your MarketplaceId values and Amazon MWS Endpoint, you need to configure several MarketplaceId values using comma. Read this page http://docs.developer.amazonservices.com/en_US/dev_guide/DG_Endpoints.html and select your MarketplaceId values from the list. Pay attention to Amazon MWS Endpoint value too. 2. Registering to use Amazon MWS Read this topic To register as a developer Under Amazon MWS Developer Access Keys click the Visit Developer Credentials button. The Developer Central page appears. Apply for access here. 3. Create Amazon MWS dev aplication credentials if you don't have them. 4. Copy AWS Access Key ID and Secret key. 5. Copy Seller ID (Merchant Token) 6. Install plugin and open plugin configure page. Configure plugin using your Amazon credentials. - plugin allows to send tracknumbers back to Amazon. - plugin allows to create new products, if it can't find them in your store. New products will be unpublished. After setting necessary to establish the date from that you want to read the orders. Press the button "Run now" Open list of orders. You will see orders from Amazon. Open the one of orders. Plugin read all information (shipment and billing address, prices, order status, ...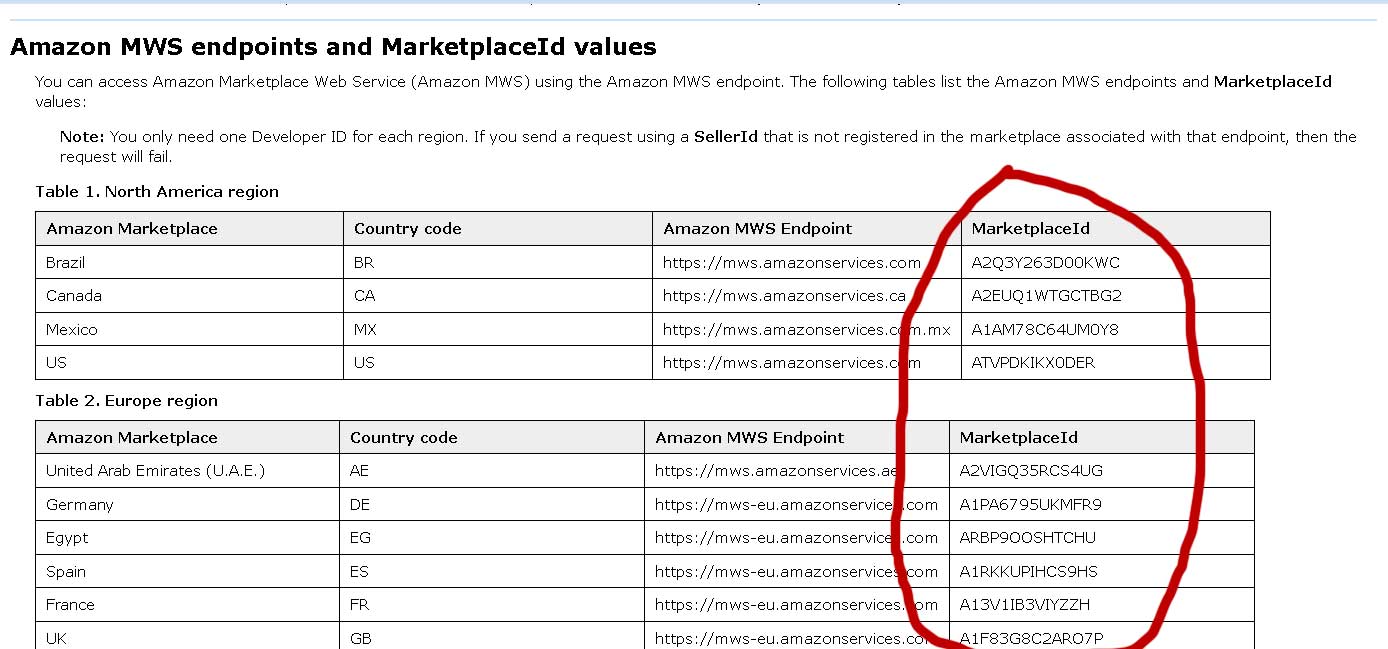
https://docs.developer.amazonservices.com/en_UK/dev_guide/DG_Registering.html#DG_Registering__RegisteringAsADeveloper