
Installation and configuring plug-in NopReviewRewards
The plugin gives your customers reward points for their product reviews. The points are added when you approve the review and removed when you disapprove or delete it. The customer gets an email about it.
It's easy to configure the plugin. See pictures.
1. Install the plugin. Open its pages from the admin menu 'FoxNetSoft' - 'Review Rewards Program'.
'Product reviews' opens the nopCommerce product review list. 'Configure' opens the plugin settings.
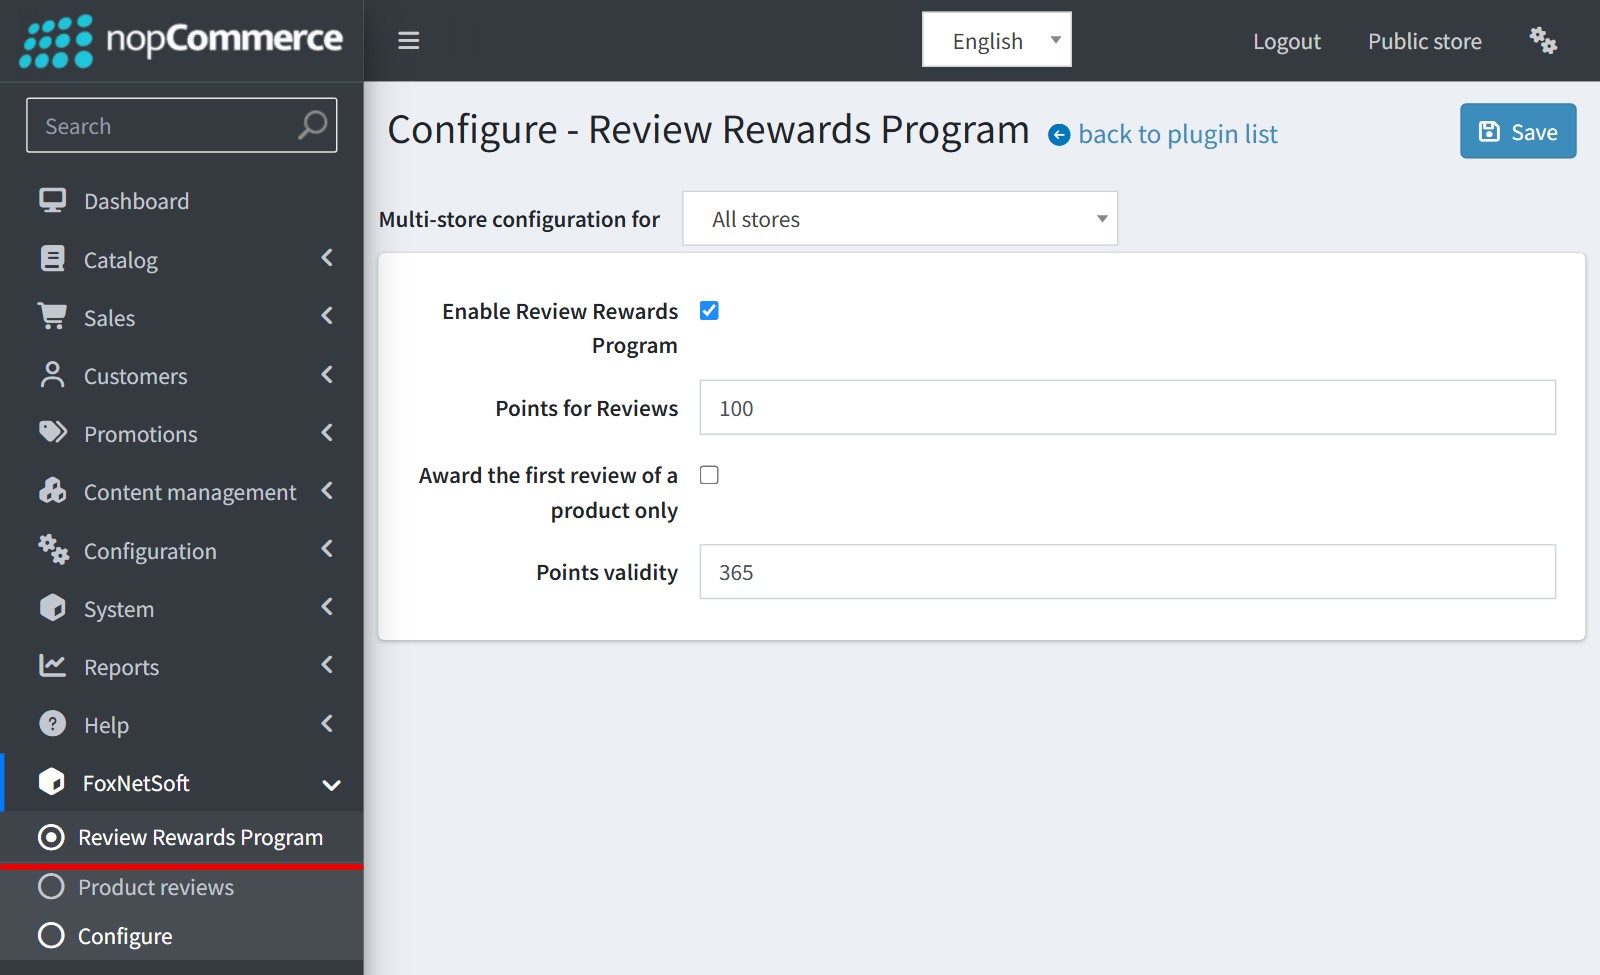
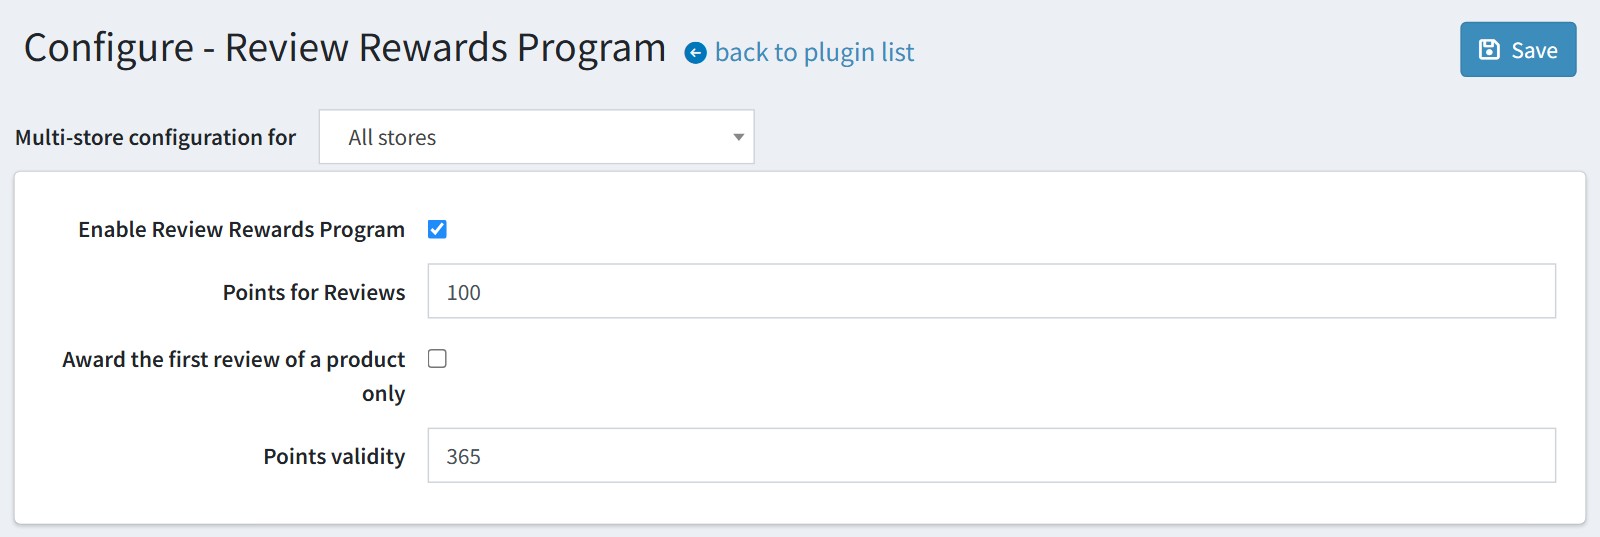
2. Enable 'Enable Review Rewards Program' and set 'Points for Reviews' - the number of reward points the author of the review gets. Every approved review gets the same number of points.
Enable 'Award the first review of a product only' if the customer should get points only for the first review of each product. Further reviews of the same product earn nothing.
'Points validity' is the number of days the points are valid. Leave it empty if the points should never expire. A new value works only for the points added after the change.
The plugin uses the nopCommerce reward points. You should enable them in 'Configuration' - 'Settings' - 'Reward points', otherwise no points are added.
Only registered customers get points. Guests get nothing.
Reviews approved before you installed the plugin are not paid.
3. Tell your customers about the program.
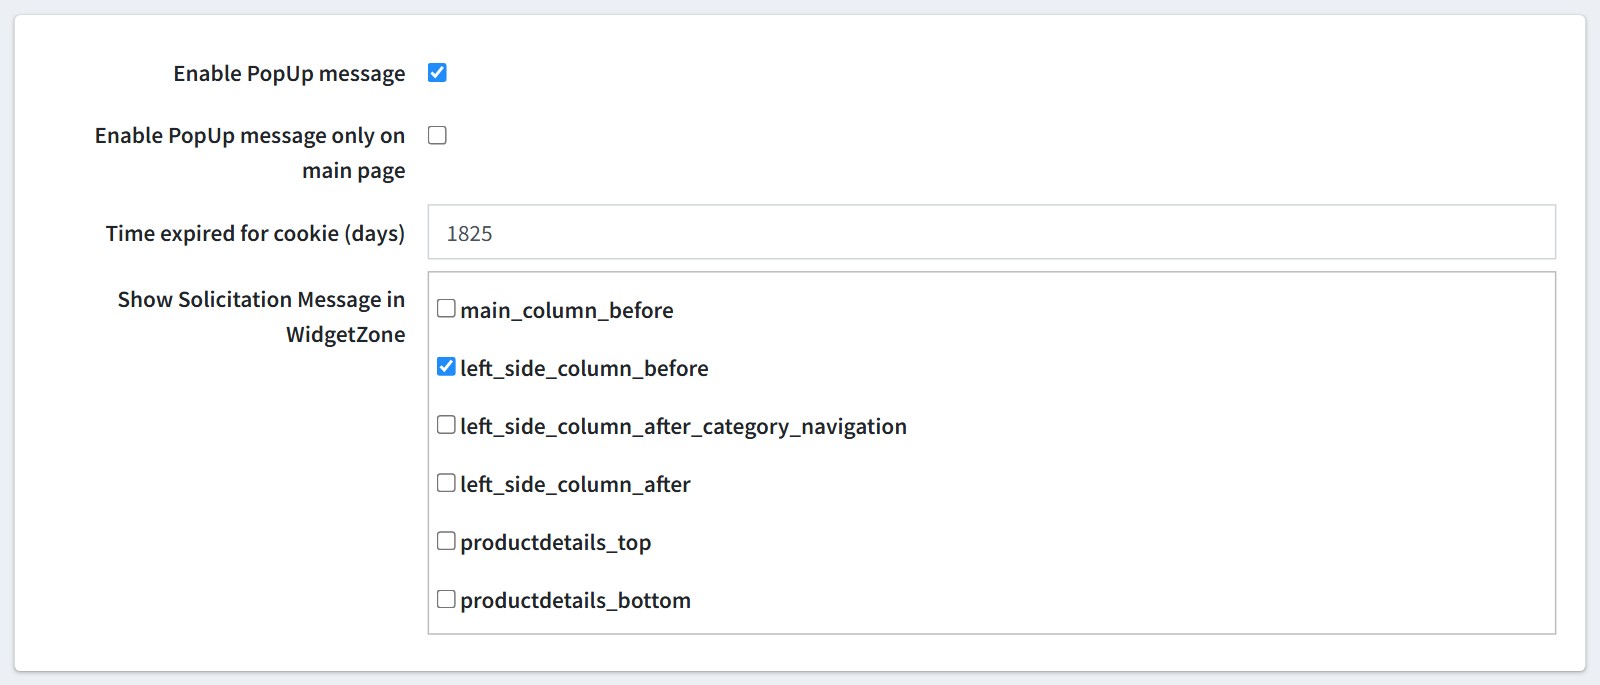
Enable 'Enable PopUp message' to show a pop-up window with the message from step 5. Enable 'Enable PopUp message only on main page' to show it only on the home page, otherwise it appears on every page.
The customer sees the pop-up once. After it the cookie hides it for 'Time expired for cookie (days)'. The default is 1825 days (5 years). A customer who clears the browser cookies sees it again.
'Show Solicitation Message in WidgetZone' - select where the solicitation block appears: before the main column, in the left column (before, after the category navigation, after), at the top or at the bottom of the product page.
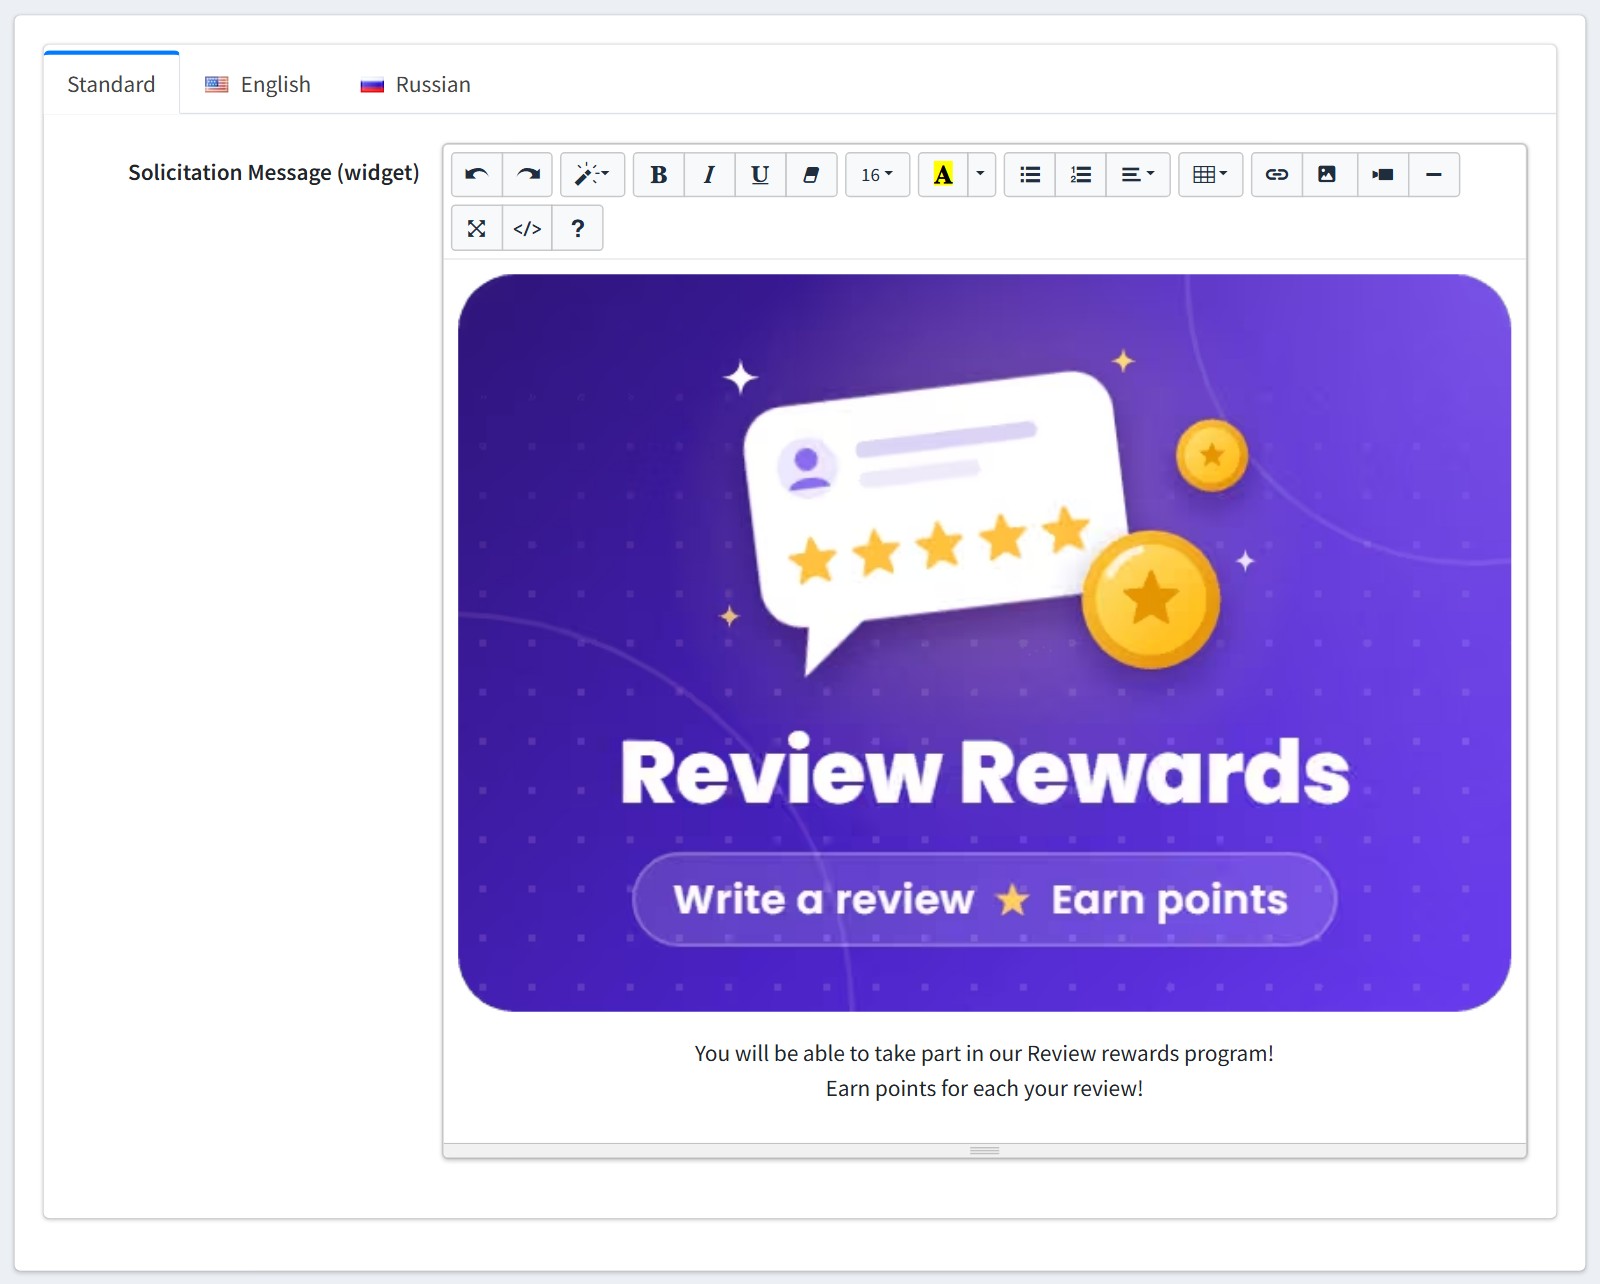
4. 'Solicitation Message (widget)' is the HTML of the block in the selected widget zones. You could add pictures, links and formatting.
Each language has its own tab. The 'Standard' text is shown when the language tab is empty.
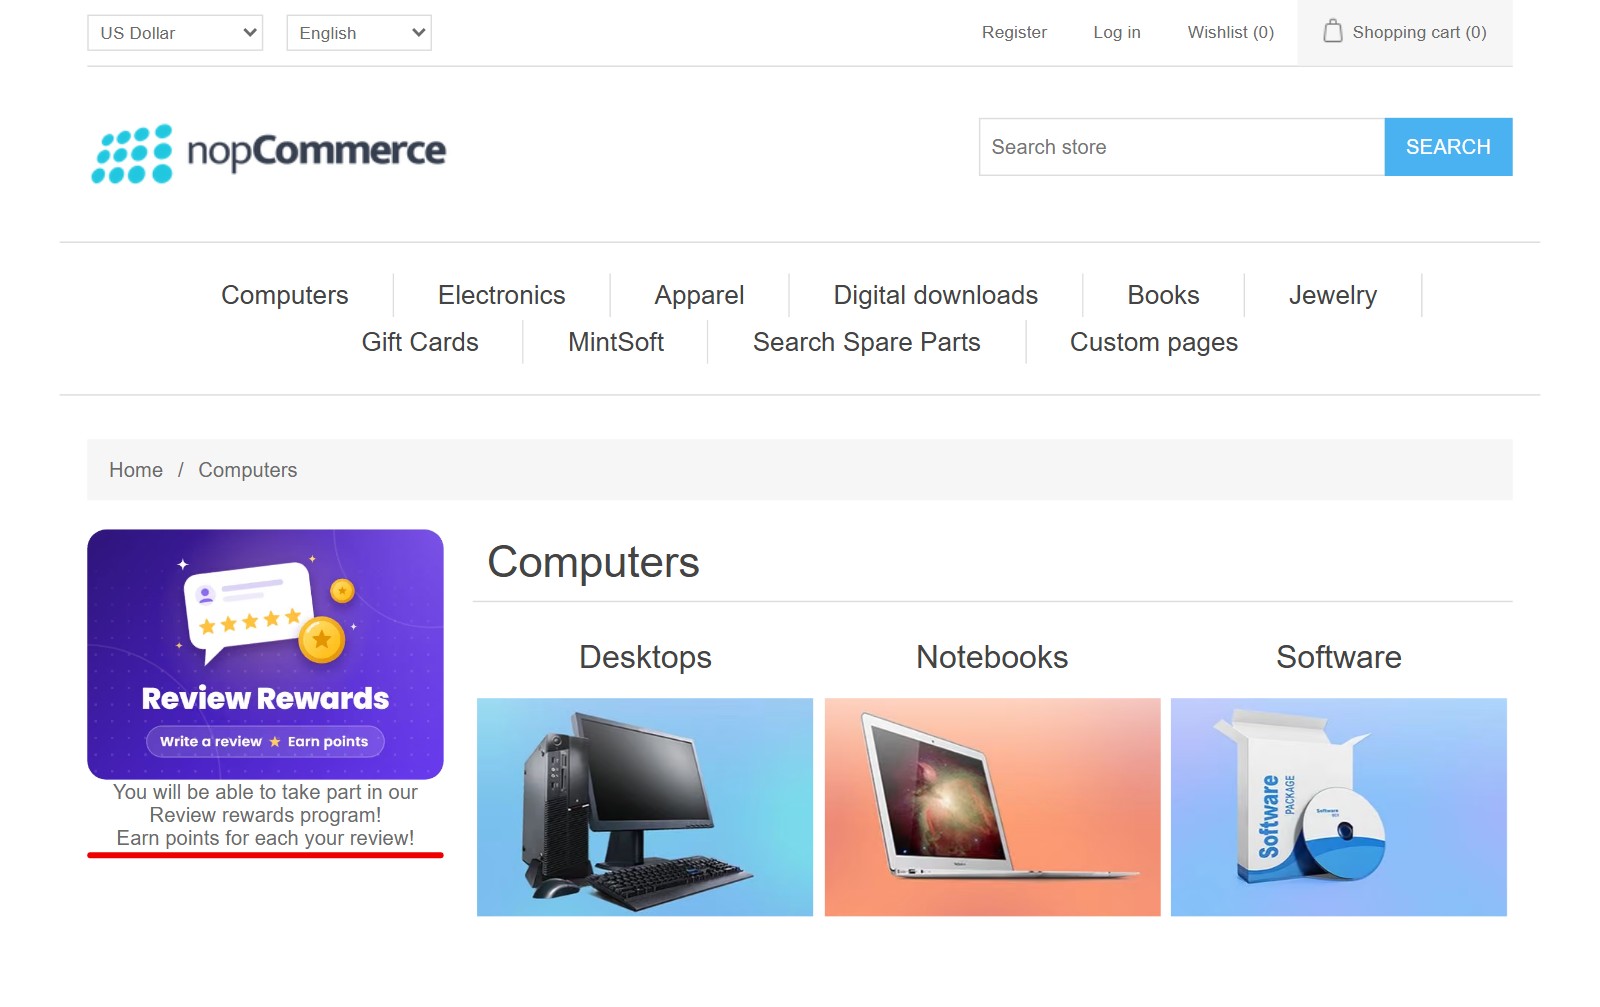
This is how the solicitation message looks in the left column of the category page.
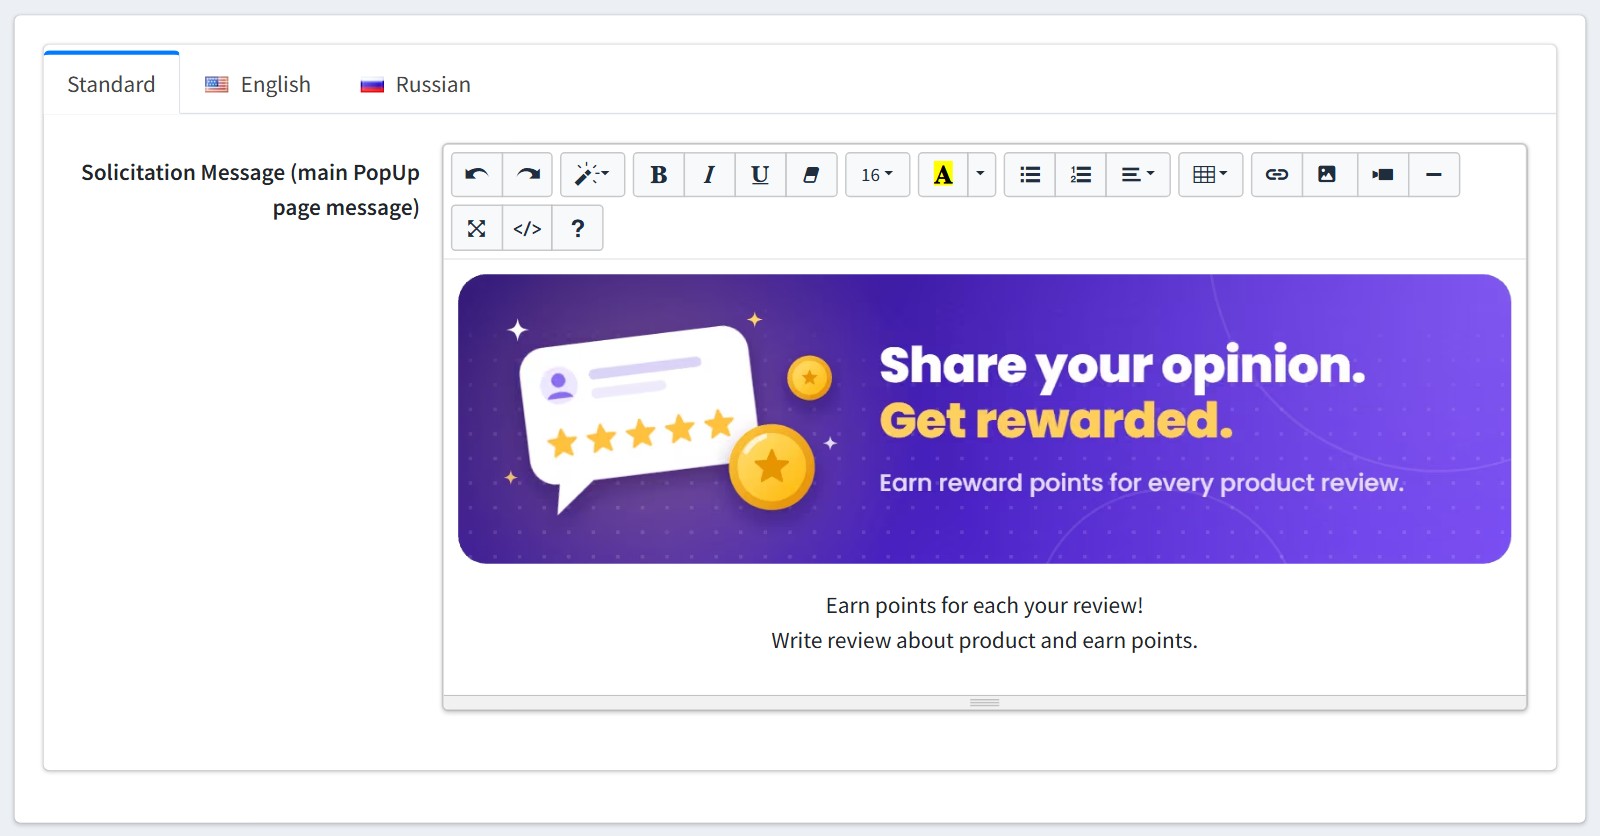
5. 'Solicitation Message (main PopUp page message)' is the content of the pop-up window, also for each language.
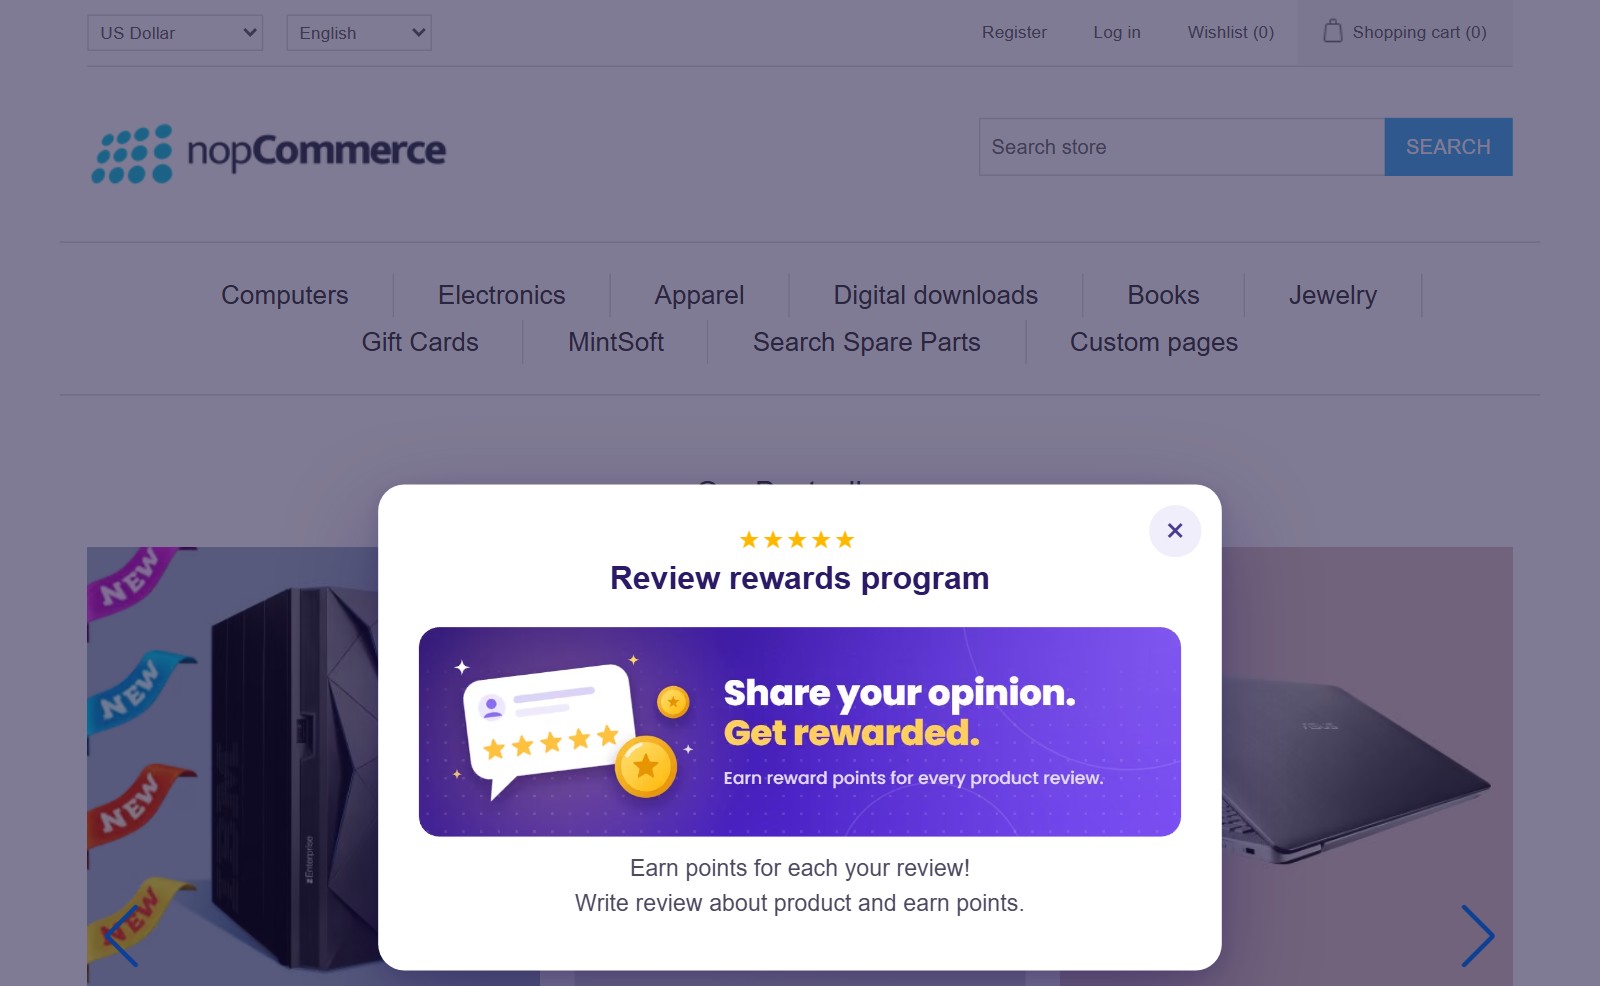
This is how the pop-up window looks on the home page. The customer closes it with the cross.
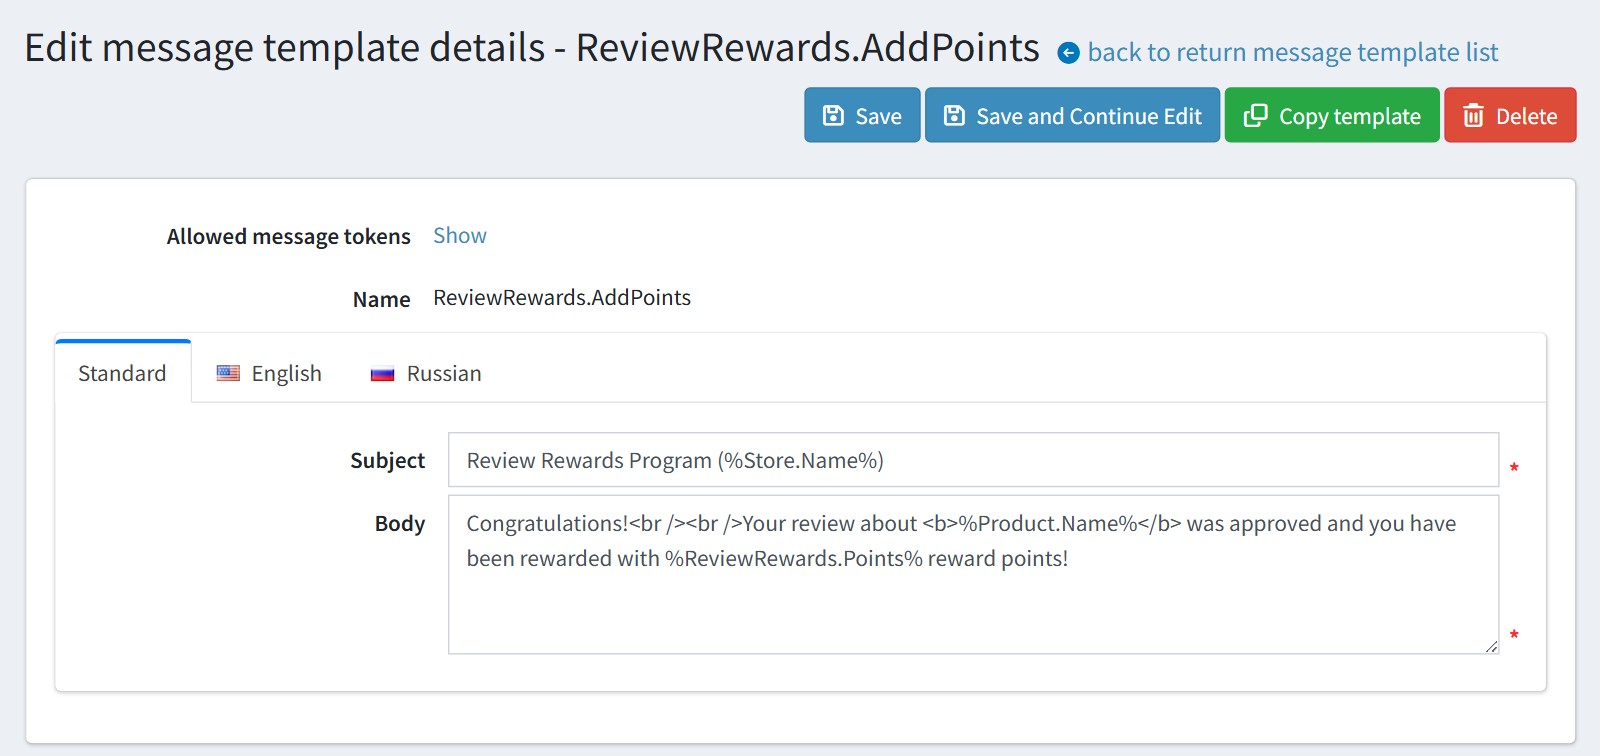
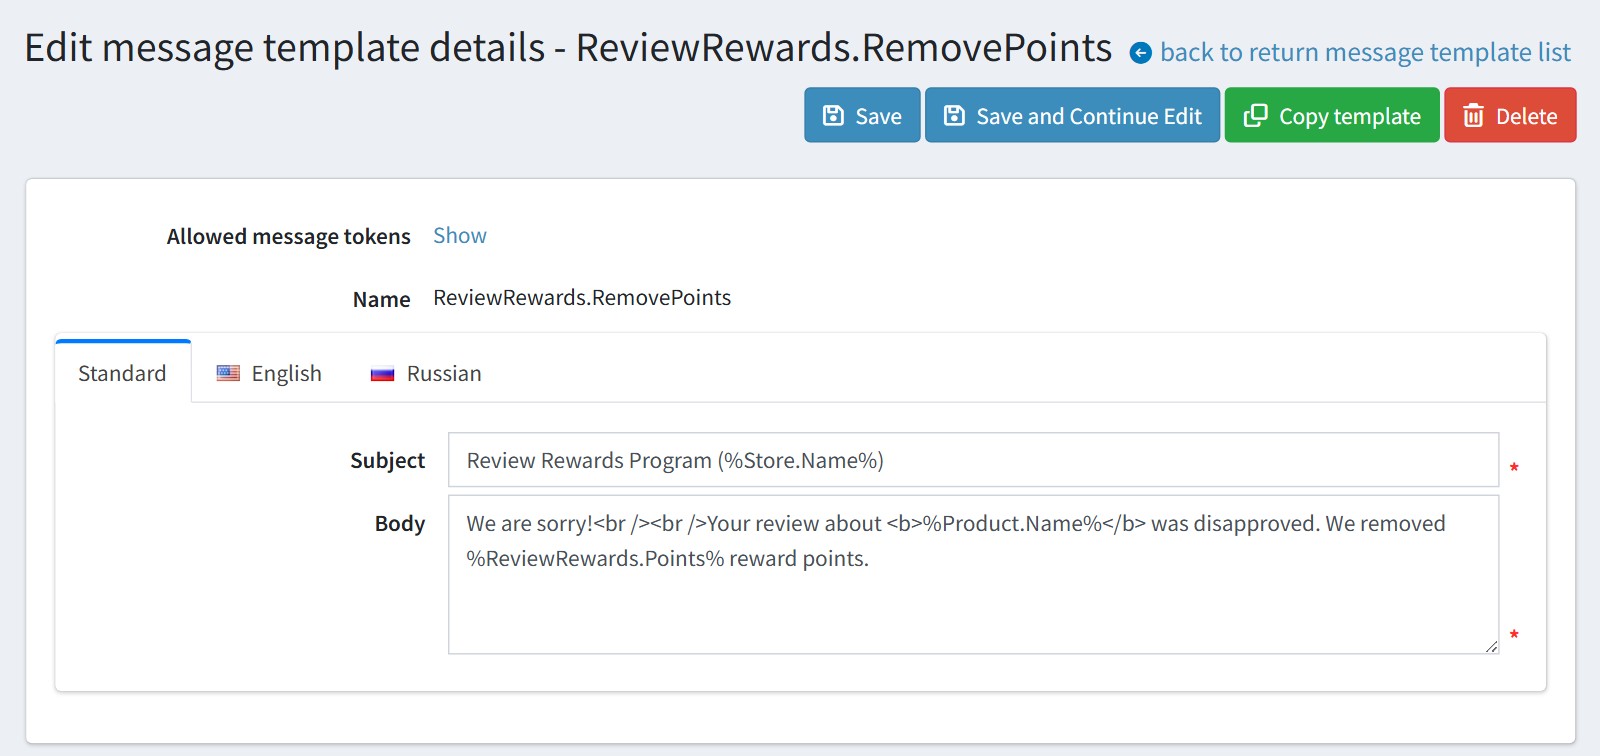
6. The plugin adds two message templates. Press 'Edit' to change them.
'ReviewRewards.AddPoints' is sent to the author of the review when the review is approved and the points are added.
'ReviewRewards.RemovePoints' is sent when the review is disapproved or deleted and the points are removed.
The token %ReviewRewards.Points% is the number of points added or removed. The store, customer, product and review tokens work too.
The templates are deleted when you uninstall the plugin, so save your texts before it.

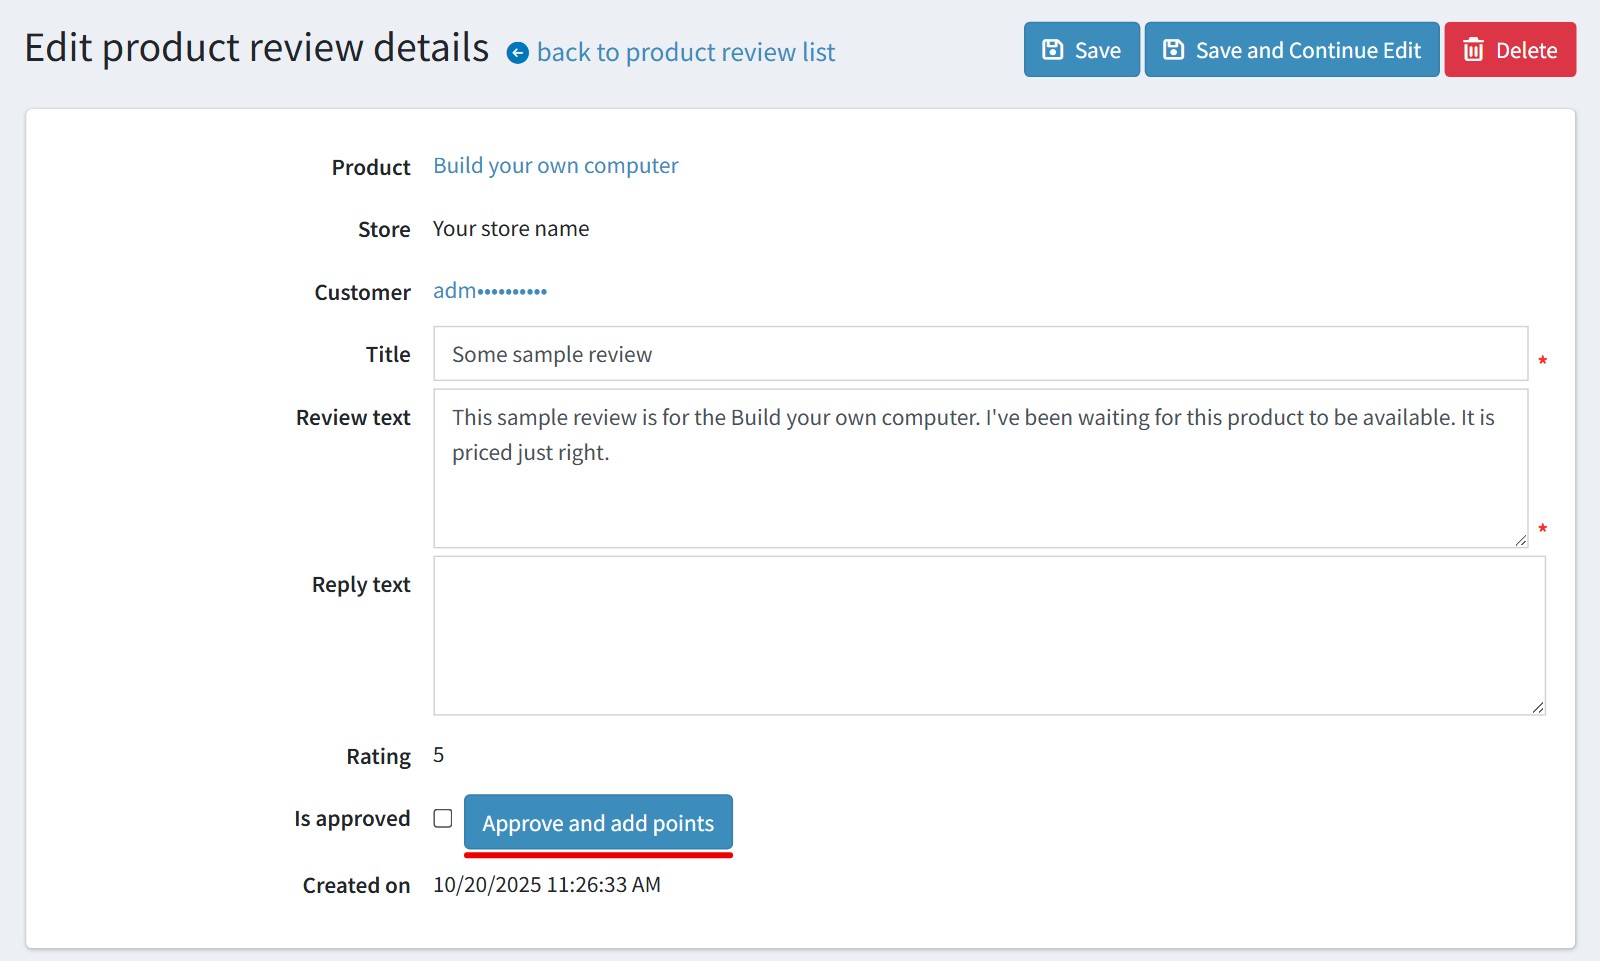
7. Approve the reviews. Open the review in 'Catalog' - 'Product reviews'. The plugin adds the button 'Approve and add points' next to 'Is approved'. It approves the review and adds the points in one click.
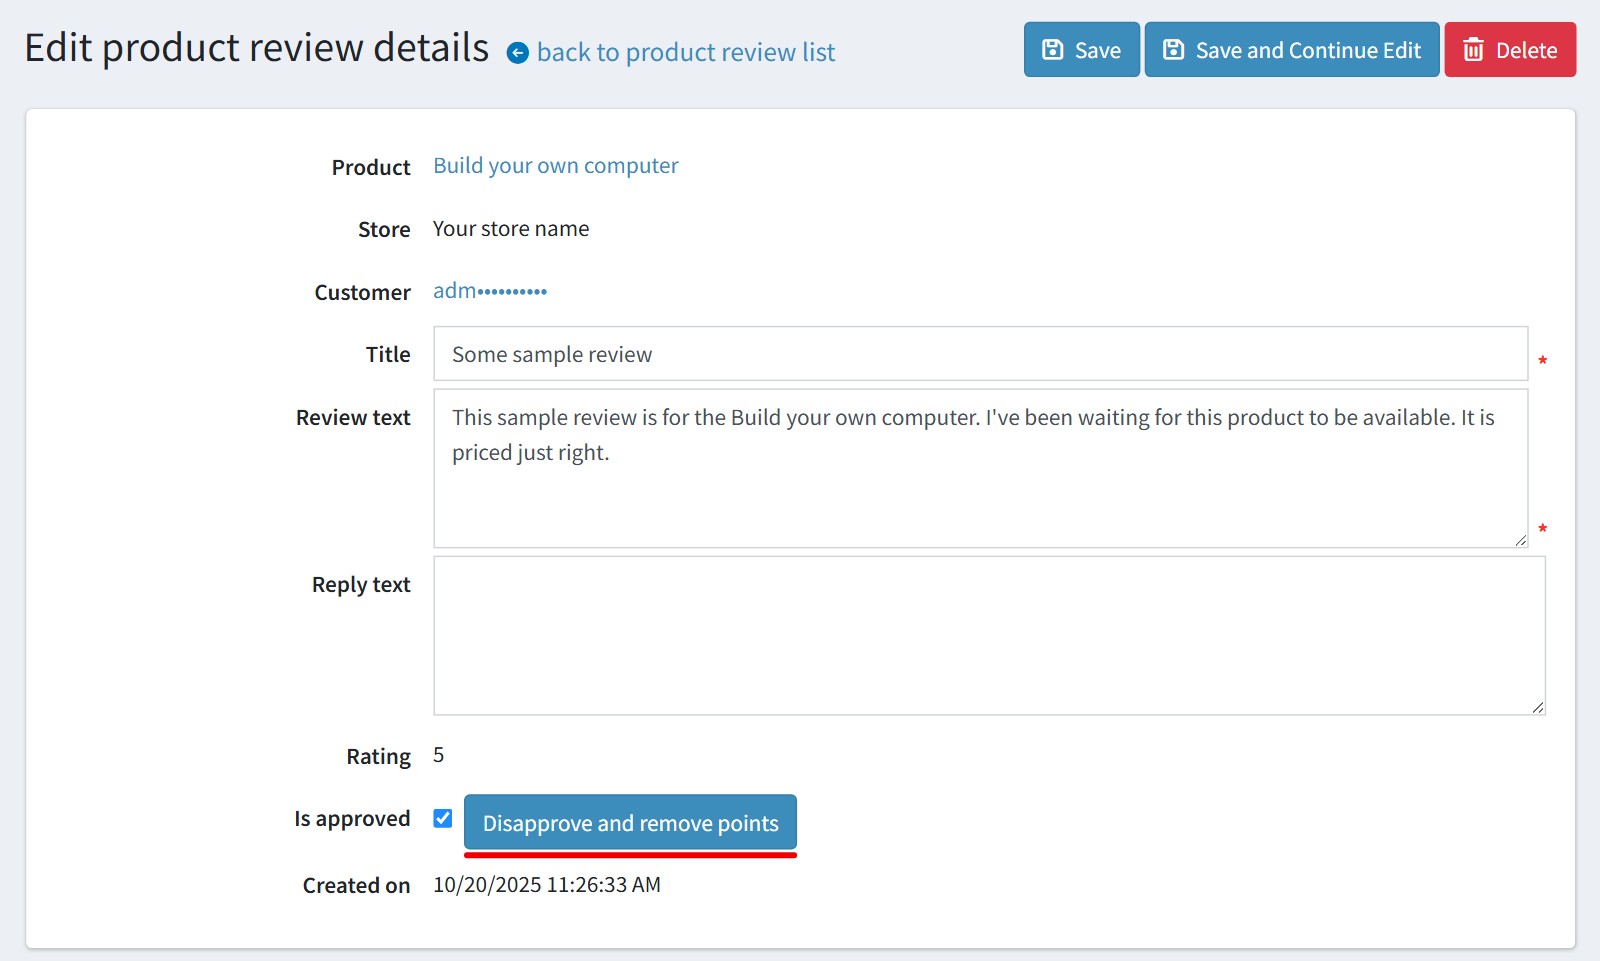
When the review is approved the button changes to 'Disapprove and remove points'. It disapproves the review and removes exactly the points the customer got for it.
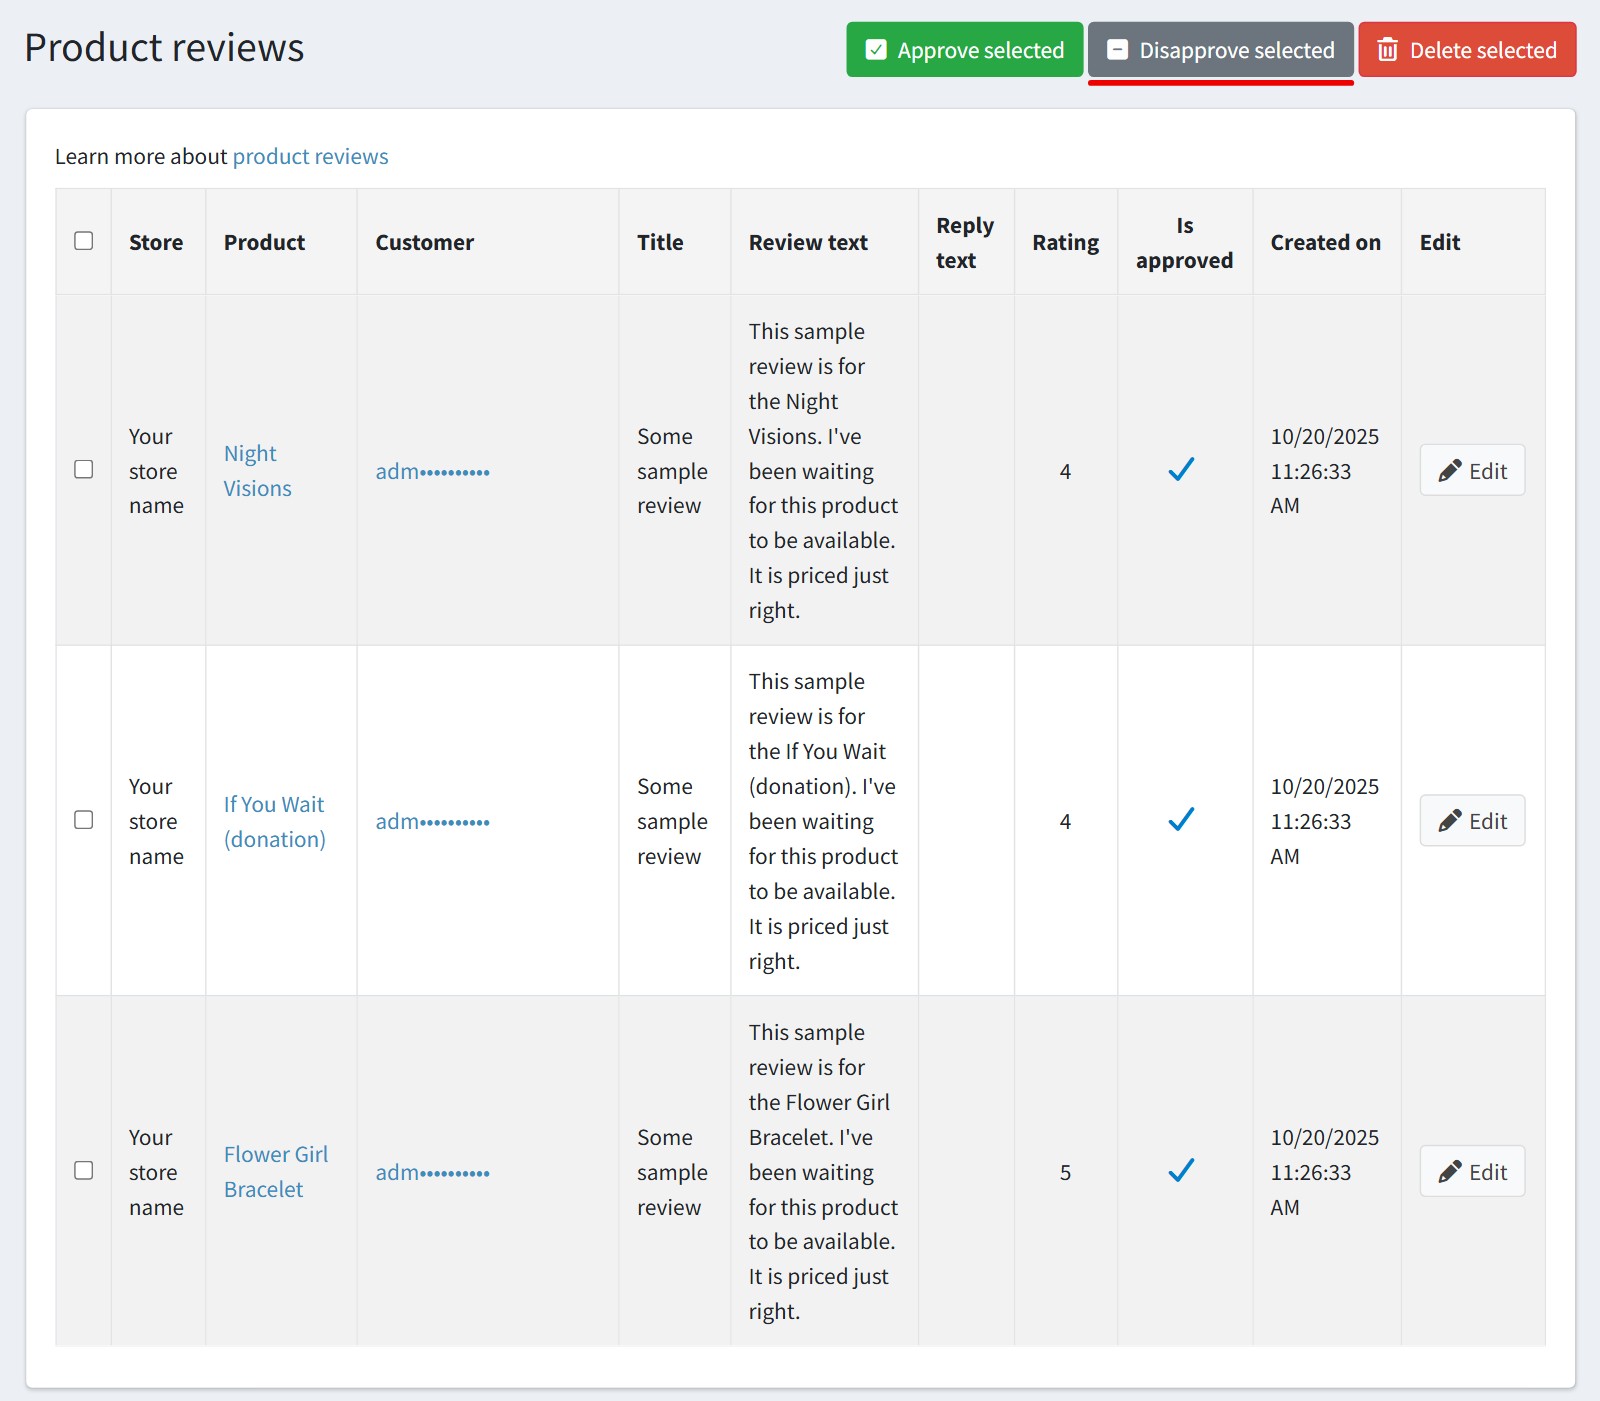
On the review list 'Approve selected' adds the points, and 'Disapprove selected' removes them for all selected reviews.
The usual way works too: tick or untick 'Is approved' and press 'Save'. Deleting an approved review removes its points.
If 'Product reviews must be approved' is disabled in the catalog settings, every review is approved at once and the customer gets the points as soon as the review is posted.
The customer never gets the points twice for the same review.
8. The plugin adds the 'Product reviews' card to the product edit page and to the customer edit page. You see all reviews of the product or all reviews of the customer, with the 'Edit' link to each review.
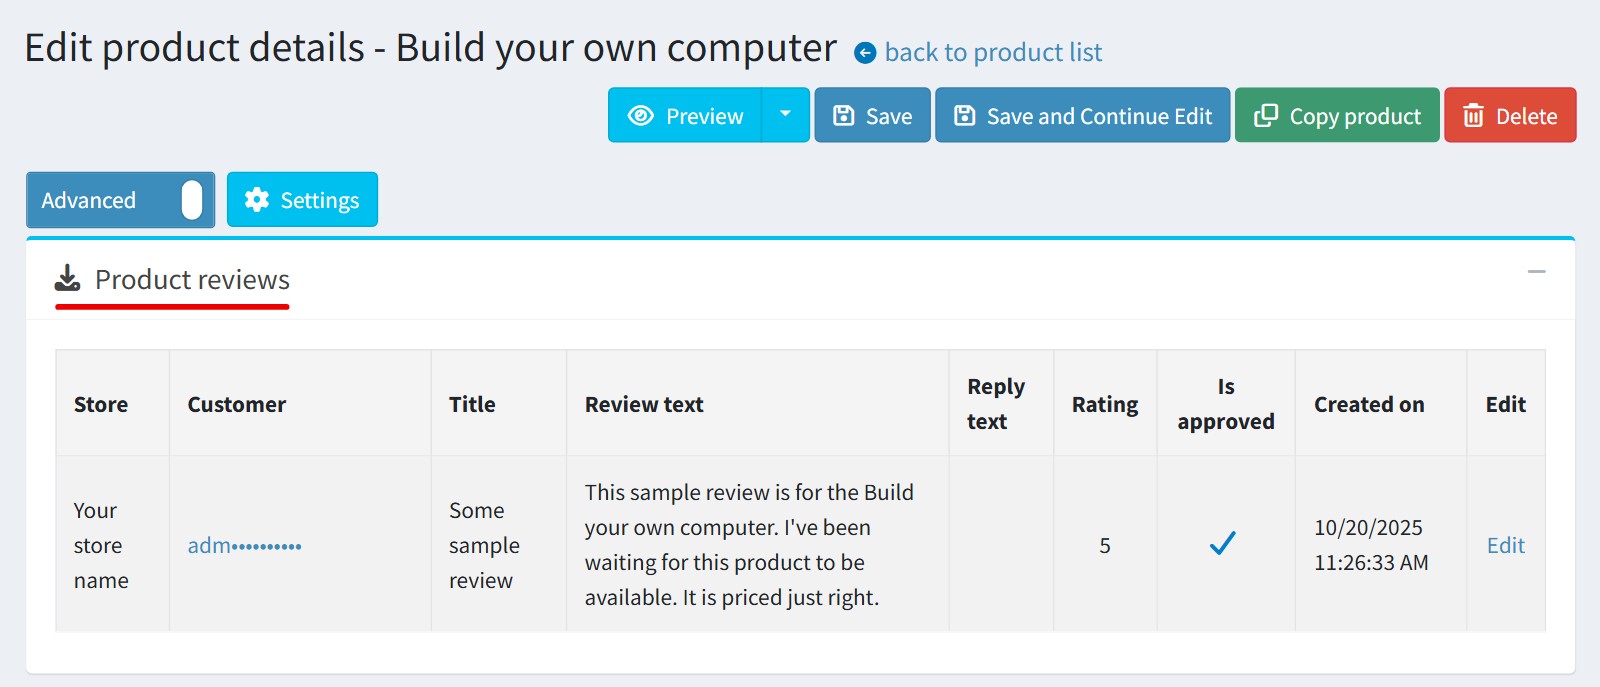
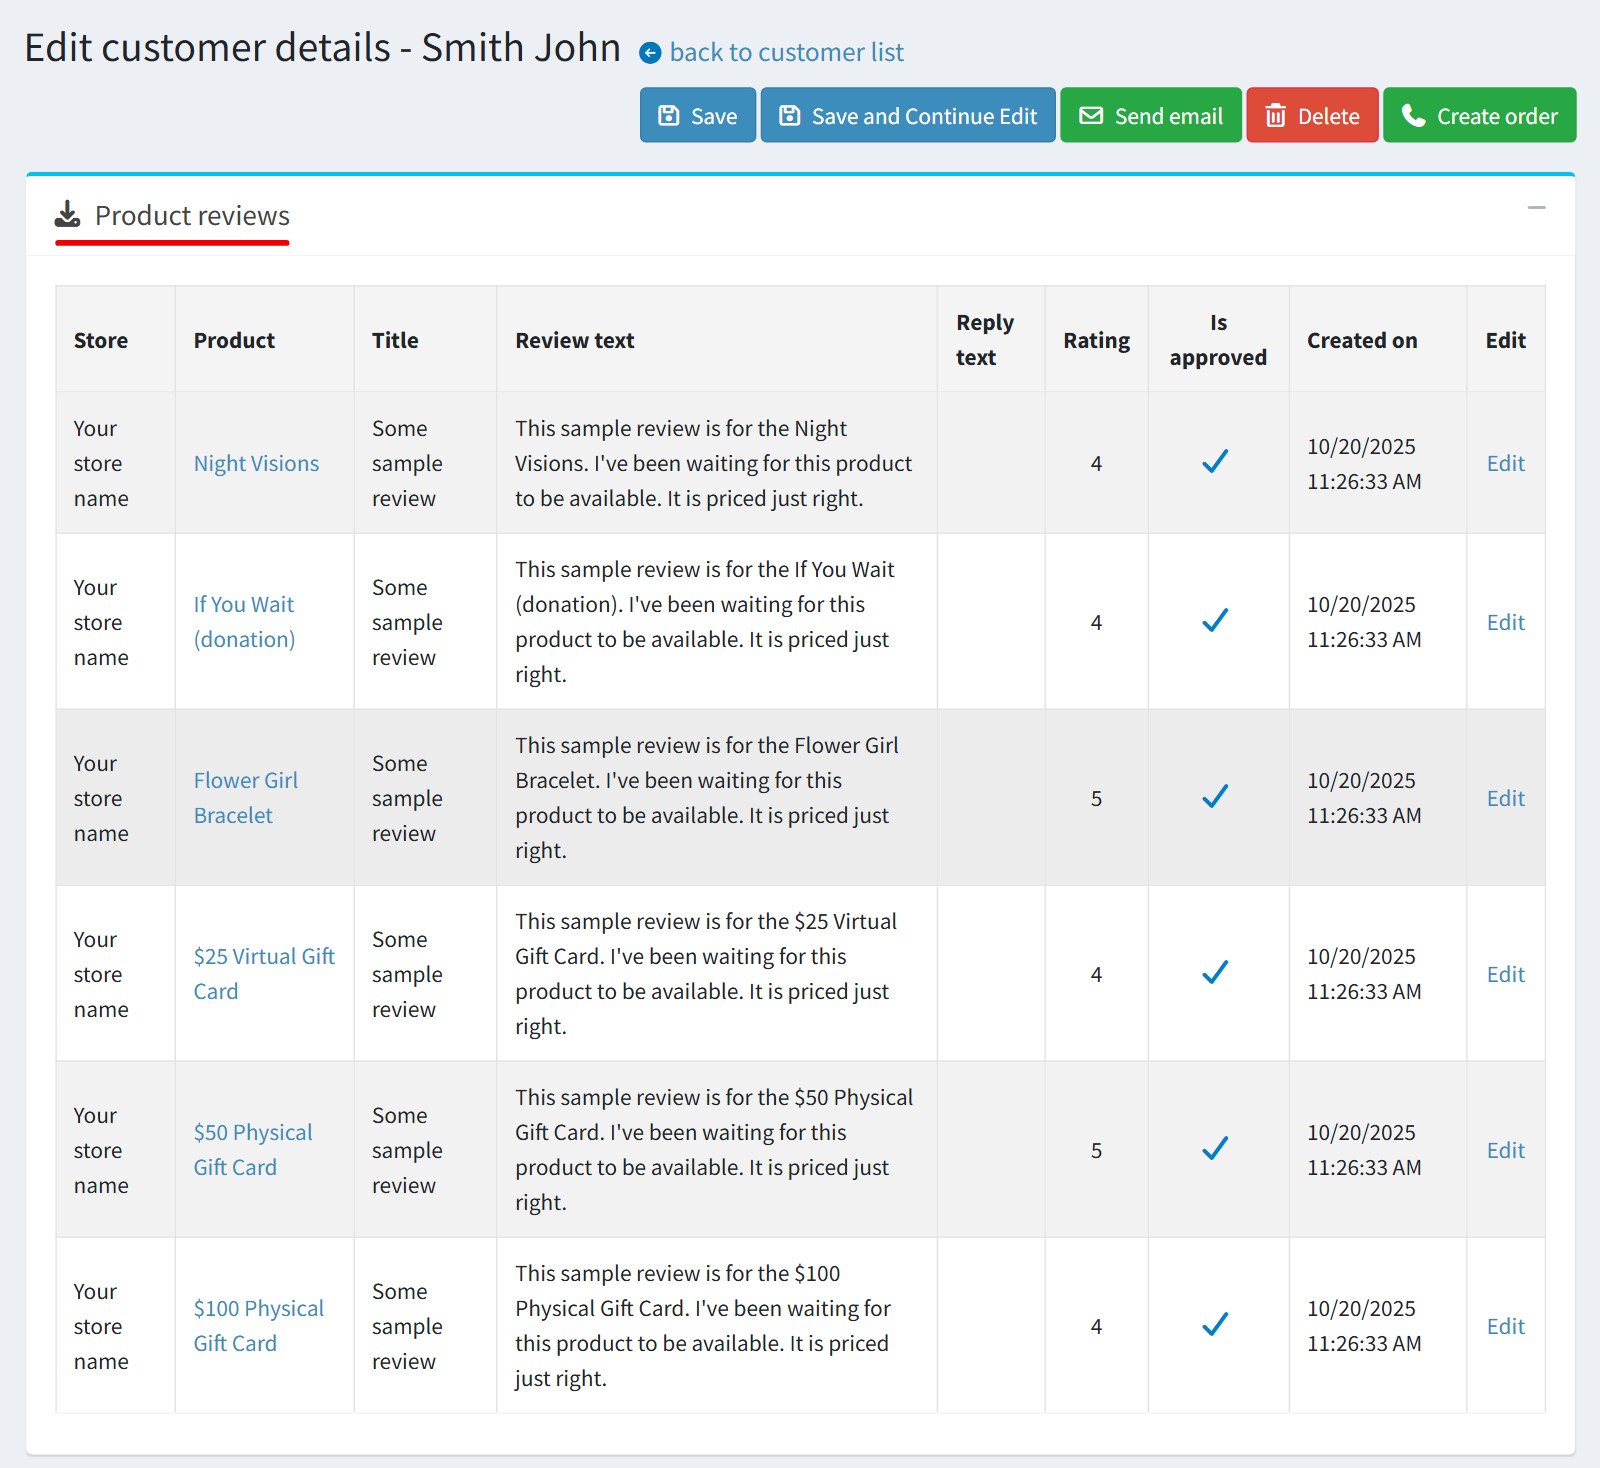
9. The customer sees the points in 'My account' - 'Reward points', with the product name in the message.
The points are added in the store where the review was written. All settings could be set for each store separately. Select the store in 'Multi-store configuration for' and check the override checkboxes.
The plugin texts are in English. You could translate them in 'Configuration' - 'Languages'.