
Installation and configuring plug-in Credova Payments
The plugin adds Credova to the checkout page of your store. Your customers buy now and pay later in monthly payments: they apply for Credova financing during the checkout, and the order is paid when Credova approves the application.
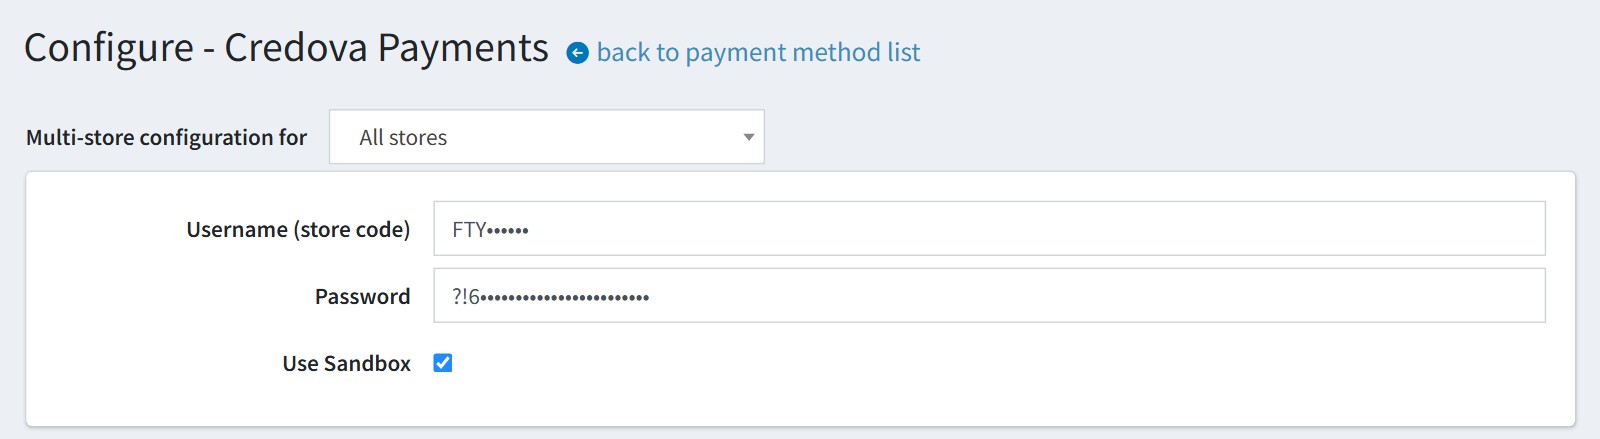
It's easy to configure the plugin. See pictures.
1. Copy the 'Username (store code)' and the 'Password' from your Credova dashboard to the plugin configure page.
Enable 'Use Sandbox' when you test the plugin with the sandbox credentials. Disable it for the live credentials. The sandbox and the live environments have their own credentials.
2. 'Create order'. Select when the plugin creates the nopCommerce order. If you are not sure, select 'After Payment'.
'After Payment'. The customer applies for Credova financing in the Credova window on the checkout page, without leaving your store. The order is created only after Credova reports the application signed, and it is marked as paid at once.
'Minimum subtotal amount'. The plugin hides Credova Payments when the order total is less than this amount. Credova finances only orders within the limits of your Credova account (the sandbox accepted orders from $150 to $5000 in our tests), so set your minimum here and the customer doesn't see an error from Credova.

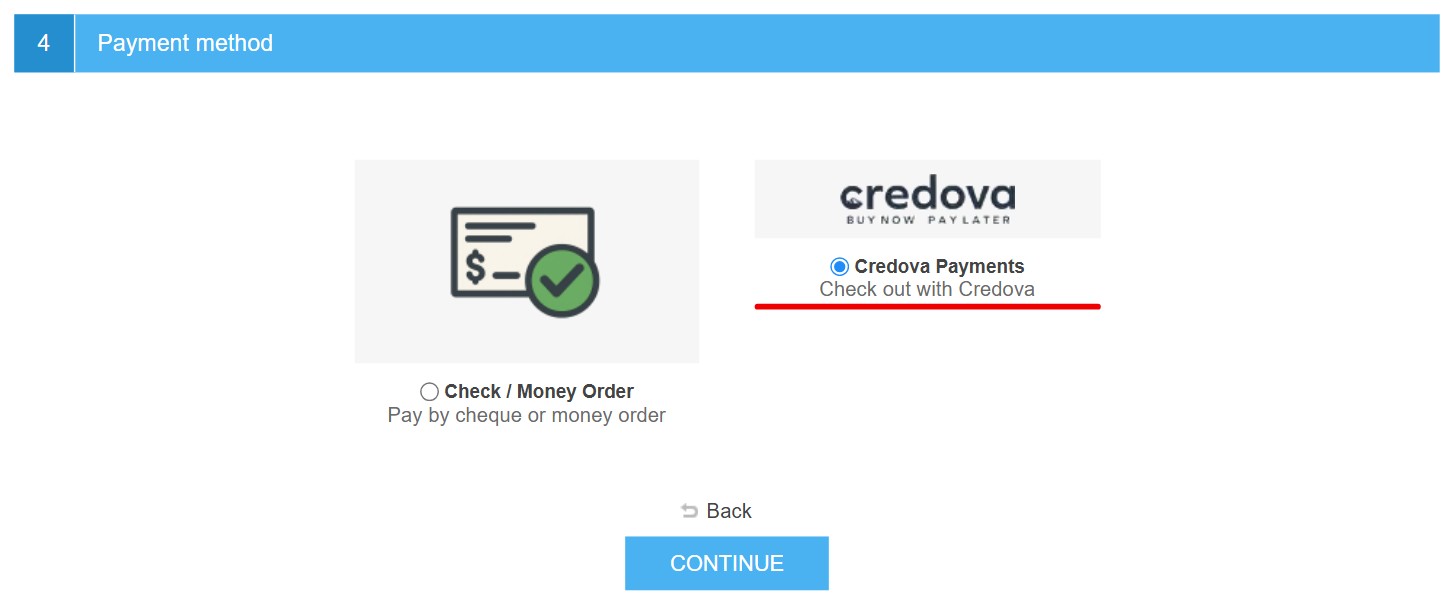
This is how Credova Payments looks on the checkout page. The customer selects it and presses 'Continue'.
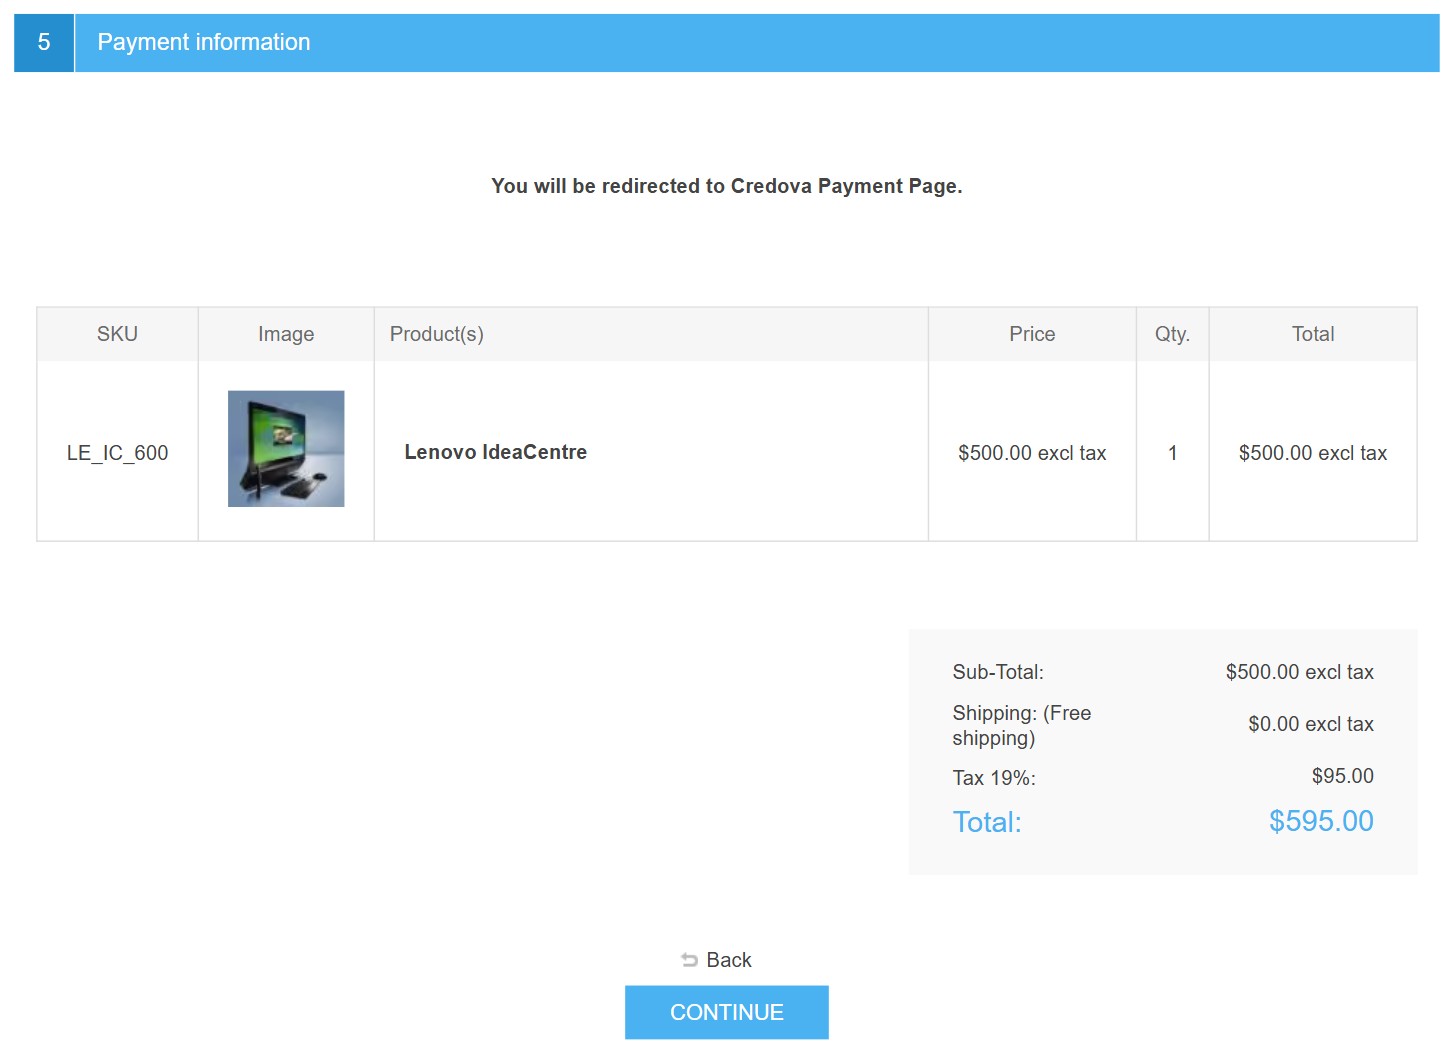
On the 'Payment information' step the customer checks the order and presses 'Continue' again.
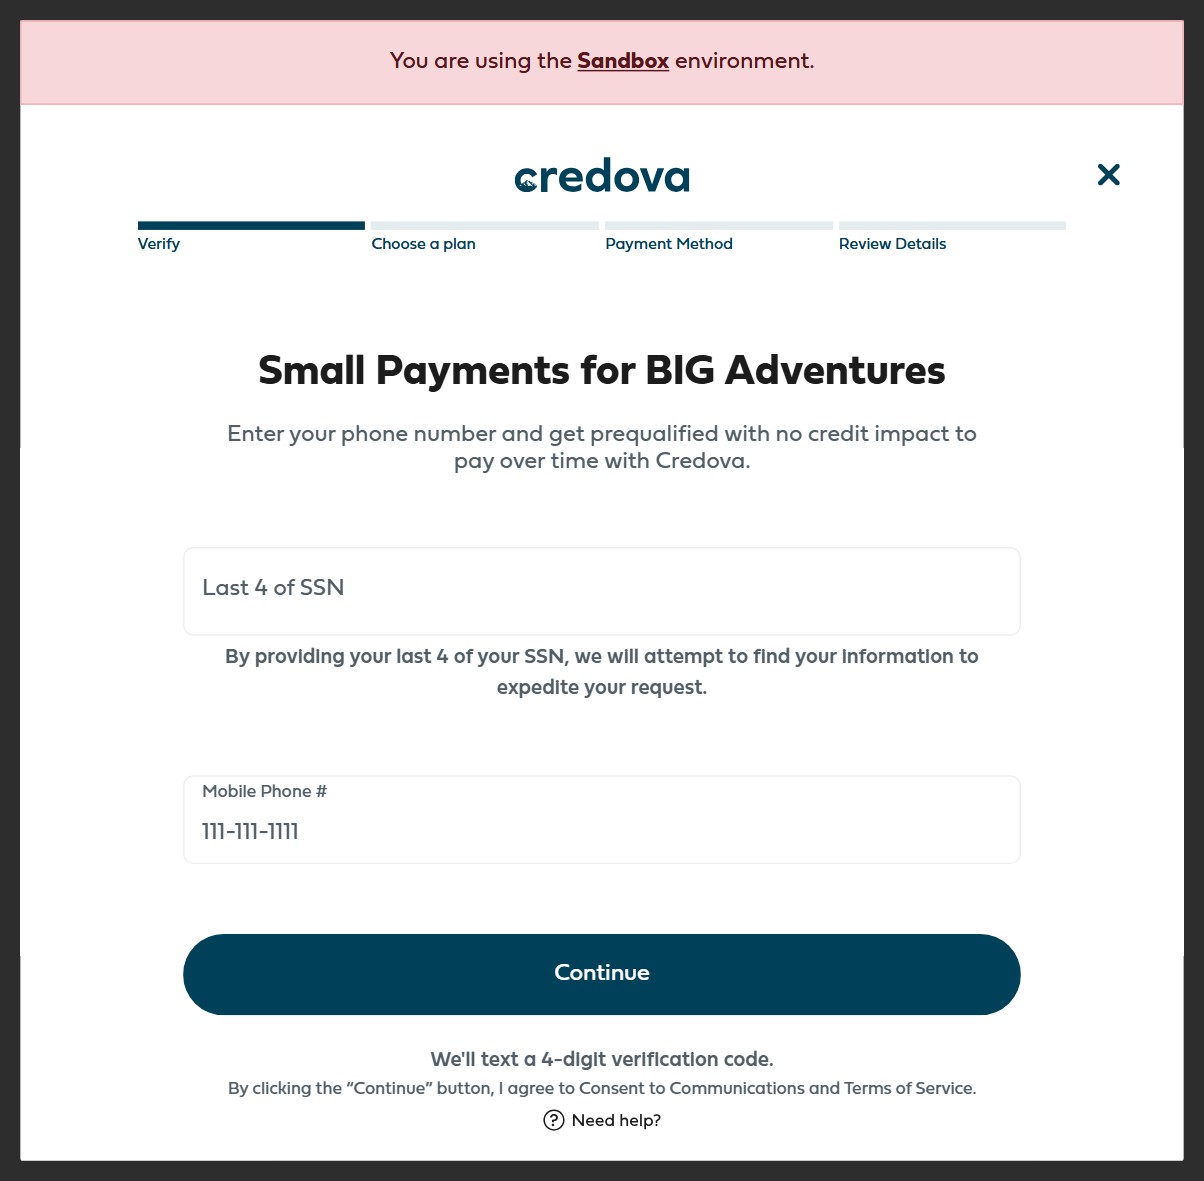
The Credova window opens over the checkout page. The customer verifies the mobile phone, chooses a plan and signs the application. The plugin takes the phone number and the address from the billing address of the order.
3. 'Before Payment'. The order is created first, with the payment status 'Pending'. Then the customer is redirected to the Credova application page and comes back to your store after it. If the customer doesn't finish the application, the order stays 'Pending' and the customer can pay it again from the order details page.
Enable 'Skip payment info page' to skip the 'Payment information' step of the checkout in this mode.

4. You could add additional payment fees. Enable 'Additional fee. Use percentage' if the fee is a percentage of the order total.

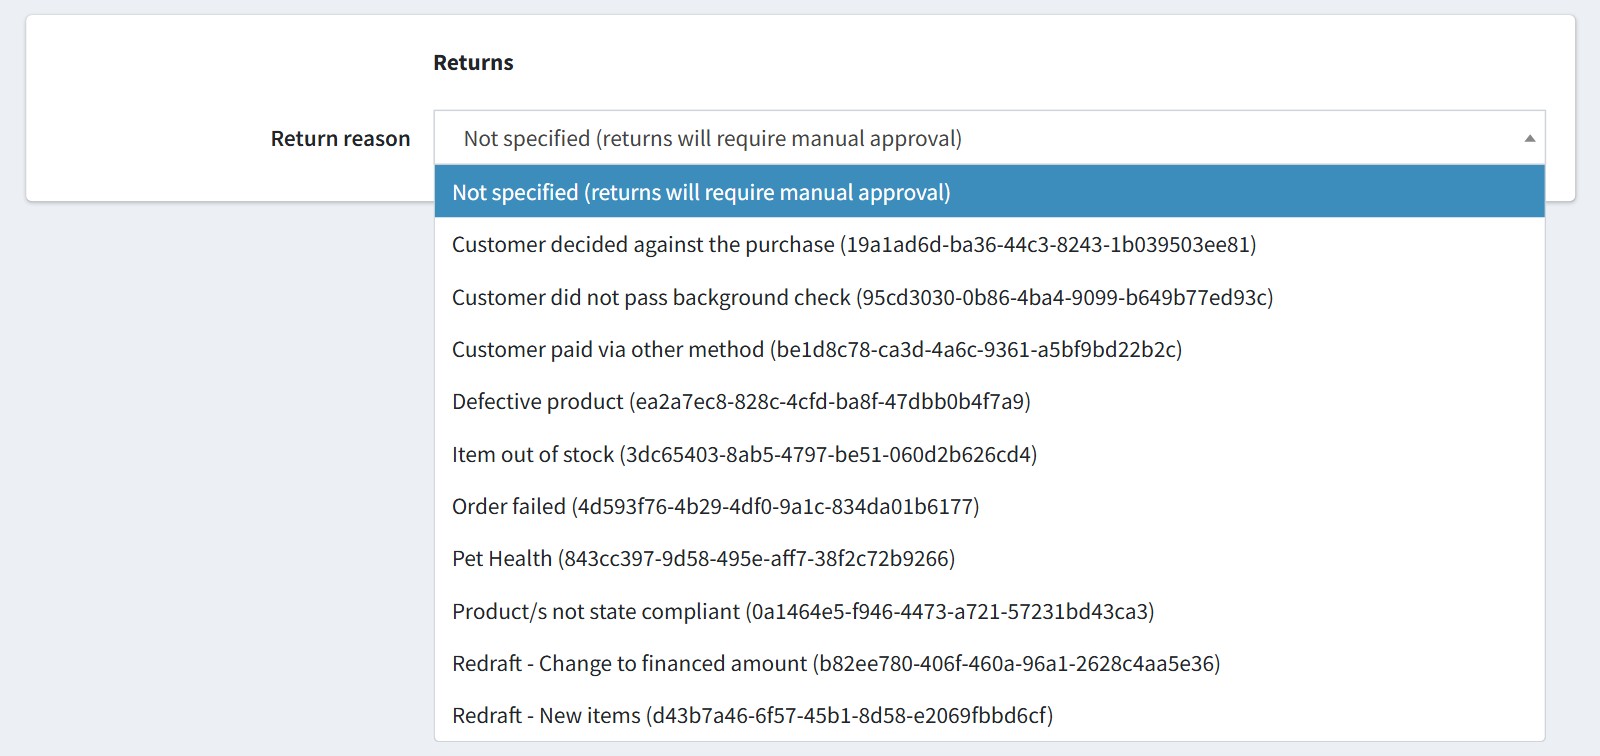
5. 'Return reason'. You could refund the payment (full or partial) from the admin order page. The plugin sends the return request to Credova with this reason.
Credova approves the return automatically only when the reason is given. With 'Not specified' you approve every return manually in the Credova dashboard.
The list is loaded from your Credova account, so save the username and the password first. The sandbox and the live environments have their own return reasons, so select the reason again after you change 'Use Sandbox'.
6. Good to know.
Credova has no webhook. The payment is confirmed when the customer comes back to your store from Credova. If the customer closes the browser before it, check the application in the Credova dashboard.
Credova is for customers in the USA. The plugin sends the street, the city, the state and the zip code of the billing address.
With 'After Payment' each visit of the 'Payment information' step creates a new Credova application, so you will see unused applications in the Credova dashboard. It's normal.
Capture, void and recurring payments are not supported.
All settings could be set for each store separately. Select the store in 'Multi-store configuration for' and check the override checkboxes.